Spend 10 minutes on Google and you’ll discover hundreds of options for kayak rod holders. Most have been perfected to a solid and relatively affordable product that allows you to modify your nearly perfect kayak with time effective projects. Alternatively, if you’re a devoted DIYer, several of the products on the market could be recreated with readily accessible products.
If you want to be a DIY kayak modifier, become familiar with your local hardware stores. Don’t limit yourself to a few, select, aisles. Know that entire store wall to wall. To be a DIY kayak modifier, you’re going to need to get creative. Spend some time with YouTube for inspiration. Then take a look at these suggestions. Some you’ll be able to recreate quickly and easily. Others will require some time and experimenting. Most of your choices will be dependent on the type of kayak you are modifying.
Let your imagination run wild.
Multifunction Kayak Rod holders
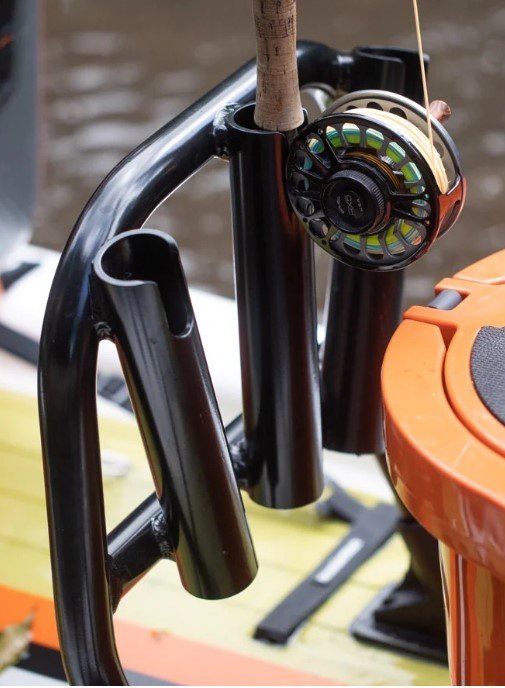
Kayaks have limited space and rather tight weight restrictions. Using modifications that can serve multiple functions helps with these complications. Rod holders can store your rods, your paddle, your net, or even your anchor depending on how you set it up.
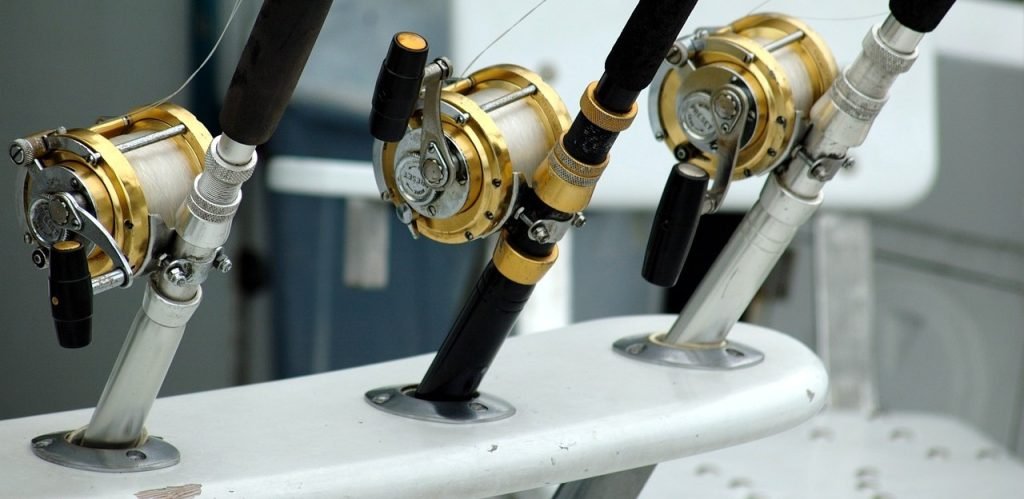
1. Bote 3 holder rack:
Options
There’s a variety of photos and videos online showing various experiments people have made to create multi-port rod holders. Bote is just one manufacturer that has created readymade holders implementing this concept. Keep in mind that you will need to find one that fits the kayak you’re modifying, drill new holes to make the kayak fit the holder you’re buying, or build a holder that fits your kayak specifically.
Uses
These setups can be storage for transport as you’re making your way out to your fishing spot, can position your rods for that ideal trolling spread as you’re strolling around the local lake, or accommodate set rods as you’re anchored and waiting for that big bite.
DIY
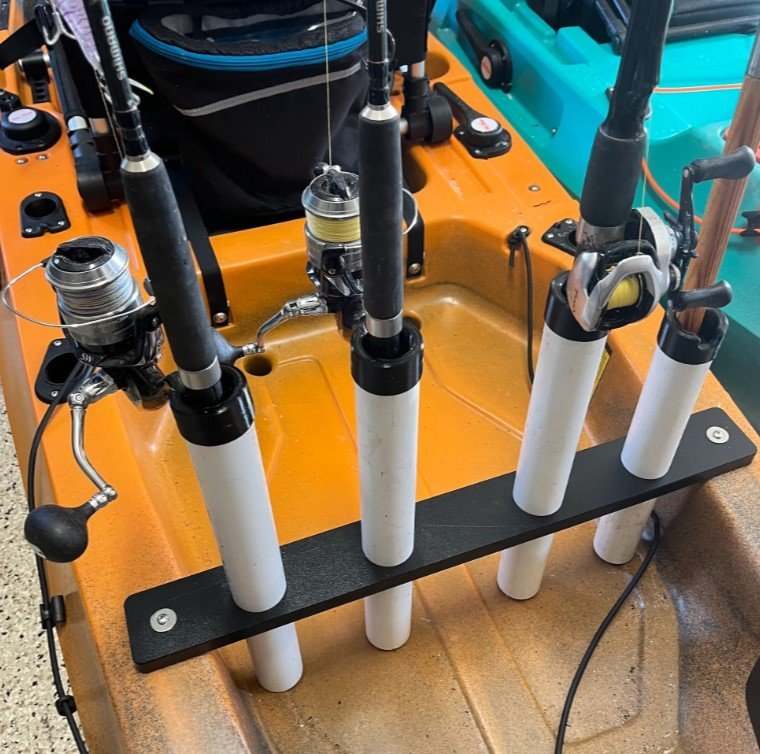
Consider making it out of PVC, Aluminum, or other sturdy material that doesn’t add too much weight to your kayak. Remember that you’ll need to match your skill set as you build your DIY arsenal of tactics.
2. SeaLux Flush Mount Holders:
Options:
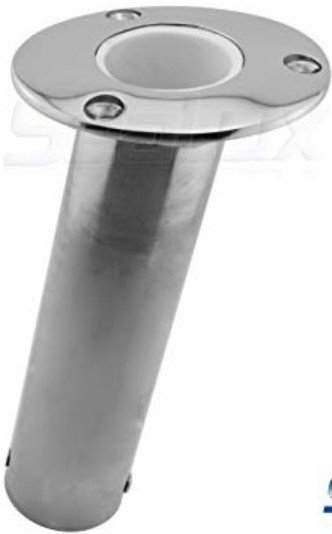
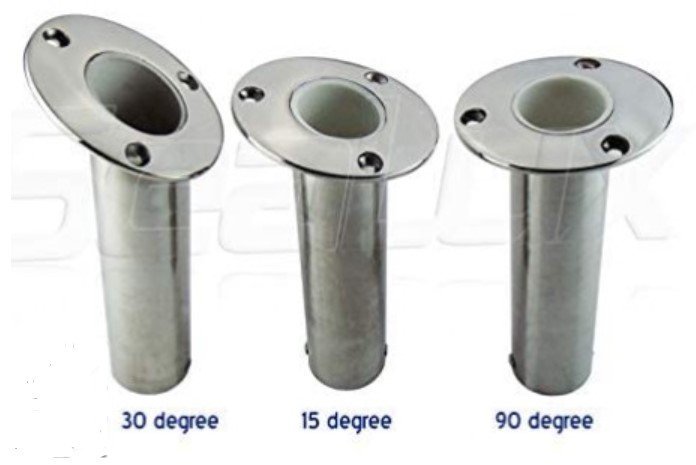
There’s 15, 30 and 90 degree holders on the market. These are the most commonly demanded angles and frequently preinstalled on fishing kayaks. Some will come with pad eyes to allow for easy leash attachments. Occasionally you’ll get ones with caps to prevent the inevitable filling of water that can damage cork grips.
Uses:
The biggest question you have to ask yourself is “what angle will suit my needs the best.” Every angle serves different purposes. For me, 90 degree holders are great for holding my rod as I’m rigging or freeing a fish. 30 degree holders tend to work for me when I’m storing my rods as I leave shore as long as I won’t be traveling through creeks or other close quarters with overhanging obstacles.
DIY:
They are most commonly made out of PVC. Make sure you choose a sufficient thickness to ensure rigidity if you’re going to use these holders for rods that are in use. A heat gun, torch, or other heating element can help soften the ends of the PVC to flare it out for a softer cradle or to create attachment points when making your own flush-mounted rod. Glass bottles work great for directing the plastic once you’ve heated it up. A rotary tool (such as a Dremel) or a grinder with a small blade can be used to cut out a gap for the reel if you’ll be attaching your holder to a crate or seat.
3. Monster Rod Holders:
Options:
Monster is one of if not the originator of the modern marketed metal wire rod holder designed for catfishing especially. They are considered exceptionally sturdy and provide multiple degrees of setup. While they are usually a bit on the heavier side, they are relatively compact and easy to store away when not in use.
Uses:
They can be used while stationary fishing, while trolling, or for storage during travel. Their multipurpose design makes them an exceptionally versatile addition to a vessel of any type. The caveat is the mounting processes. Generally speaking, these have no give to them and are typically expected to be secured directly to the surface of your boat.
DIY:
Fishin-N-Stuff has a few videos covering the rods, how they are used, and alternative build potentials. This is a DIY project that requires a rather advanced skill set, so don’t get too frustrated with yourself if you discover you’ll need to build up to this style of modification build. Every DIY kayak mod builder has to start somewhere.
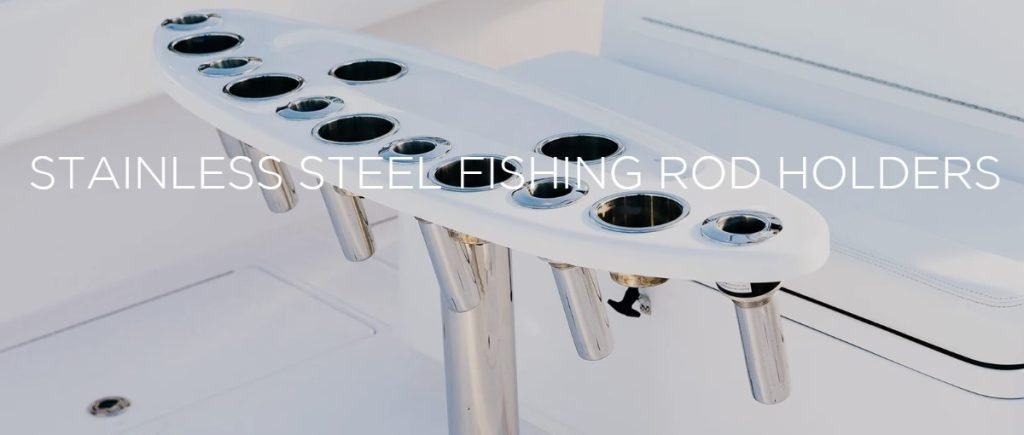
4. GemLux rack as a Dashboard:
Options:
This is a very versatile, easy modification to just about any kayak. Dashboards are becoming exceptionally popular for Sit Inside kayakers but can also benefit Sit-On-Top kayakers also. You can purchase stand alone dashboards, track mounted dashboards, or build to suit style dashboards. Almost every tool or holder imaginable can be added to a kayak dashboard. Your rod holders can be flush mounted or elevated.
Uses:
Think of your dashboard as your office desk. It gives you a secure, efficient workstation that you can store your camera, rod, and phone on. You can attach your fish finder, emergency radio, or speaker. Butcher your cut bait, repair broken lures, or tie new rigs.
DIY:
Starboard can be your best friend on projects like this. It can be doubled up to form lure, bait and hook storage, holes can be created for rod holders, tracks can be installed for adjustability on screens and other tools. PVC, conduit tubing, aluminum or steel angle bar can be used to create mounts and attachment brackets.

Storage Specific Rod Holders
Though we are repeatedly reminding y’all to not limit yourselves, these are rod holders that tend to lend themselves to more limited usability. They will rarely provide a significant amount of security when risking a fish taking off with your rod so employ a liberal degree of caution if you use these types of holders for anything other than storage on your kayak.
5. Vertical Storage by Navarre:
Options:
These style of holders work good for vertical or horizontal storage, but are most commonly designed for vertical storage. Space is critical in a kayak. With a rod holder like this you can fit it in the dead space between your seat and storage crate, along the side of your livewell, or on either side of your hull.
Uses:
Setup placement can allow you to store backup rods you won’t necessarily need frequent access to or quick access for frequently used tools (rods, nets, gaffs). For lower profile setups, you could even opt for setups that allow you to run your rods along the gunwale by stacking them one on top of the other.
DIY:
A combination of Starboard and PVC will allow for any setup you may want to do like this. Rivets, Marine screws, or gear track nuts can help you secure these holders where you need them.
6. Tube Storage by Ozark Trail:
Options:
Almost every company that makes kayak accessories makes these styles of rod holders. They are simple, light weight, and easy to attach to various locations. They are not, however, compact for storage.
Uses:
These holders can be attached to storage crates, ice chests, or seats, just to name a few uses. They can be attached at a variety of angles and, if a securing strap is added, can even be used horizontally. They are easily used for any rod shaped tool on your kayak.
DIY:
Like many of the suggestions above, PVC, a glass bottle, a cutting tool and/or drill, and a heat gun will allow you to recreate these cheaply and easily.
7. Perception Bagged Holder:
Options:
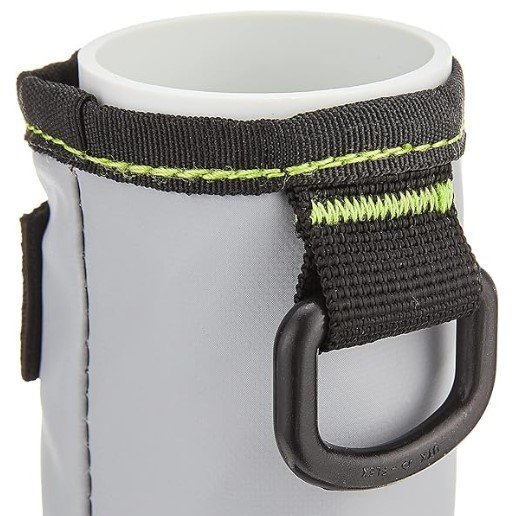
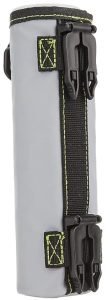
While this is a relatively specialized product designed for a couple of the Perception Accessories, the concept is viable for any number of applications.
Uses:
This is a less stationary storage method that allows for a bit of give which can help if you pass under a bridge or low hanging branch.
DIY:
If you are going to build something like this for yourself, a possible alternative is to use cargo rings (such as what’s available at Home Depot) for the attachment rings and vinyl cloth or braided paracord for the casing.
8. Plusino Clamp On Holder:
Options:
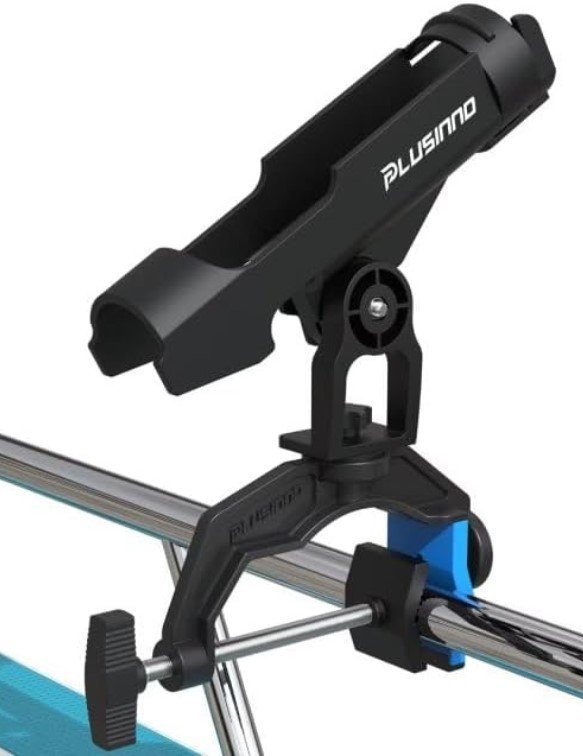
These crew clamps allow the rod holder to be attached in a variety of places without having to drill extra holes into your kayak. They are especially popular for Sit-in kayaks but not exclusively for the SIS.
Uses:
Consider using these for your storage rod holders, trolling or baited rods, or even your net. The ability to adjust angles makes them exceptionally versatile.
DIY:
Hardware stores sell a variety of screw clamps that can, with a bit of ingenuity, allow you to attach your rod holder to your dashboard, gunwale, seat, or almost anywhere on your kayak that you find a lip. Starboard can provide a secure attachment point for the screw clamp and the rod holder itself. PVC is a reliable option for the holder itself. If you don’t have starboard and don’t want to purchase any, hose clamps can serve as an alternative attachment process but will limit the angles available to you.
9. Track mount cradle:
Options:
A few different companies make holders like this in a variety of sizes and shapes. Some will sit along the gunwale while others can allow you to suspend your setup outside the kayak over the water. While the holder is DIY capable, you will probably find the time and cost involved is less than desirable.
Uses:
Don’t limit yourself to just using this for your paddle. Your rod while traveling, as you rig or unhook a fish, or while positioning yourself for your next cast can be stored here. Your net while you’re fighting a particularly energetic fish can be secured in a cradle for easy access. Even your measuring board can be secured in cradles like this.
DIY:
Smaller diameter PVC cut into a crescent shape secured with any number of bolt types can help you create these types of cradles on a track mount.

Deployed Positioning specific holders
Can these rod holders be used for storage while traveling or between uses? Yes. Would we consider them the best use of such space? Probably not. These are rod holders that work best while in the process of fishing. They are prone to getting in the way of your paddle while kayaking.
10. YakAttack Track Mounted Holder:
Options:
Other companies also make these style rod holders, but AJ and I have been most satisfied with the quality and durability of the YakAttack brand. They are sturdy holders when a fish gets a good grip on your line and tries to take off before you can secure your grip on the rod. Could this be made by a DIYer? Probably. Would anyone other than a highly skilled craftsman be able to make something comparable? Probably not.
Uses:
They are, again, adjustable for multiple positions and angles. It allows for a variety of setups when your bait is deployed for any number of target species. They can hold your rod while you free your catch from your rod or re-bait your hook.
DIY:
While it is possible, it is probably best to leave this one to a highly skilled welder.
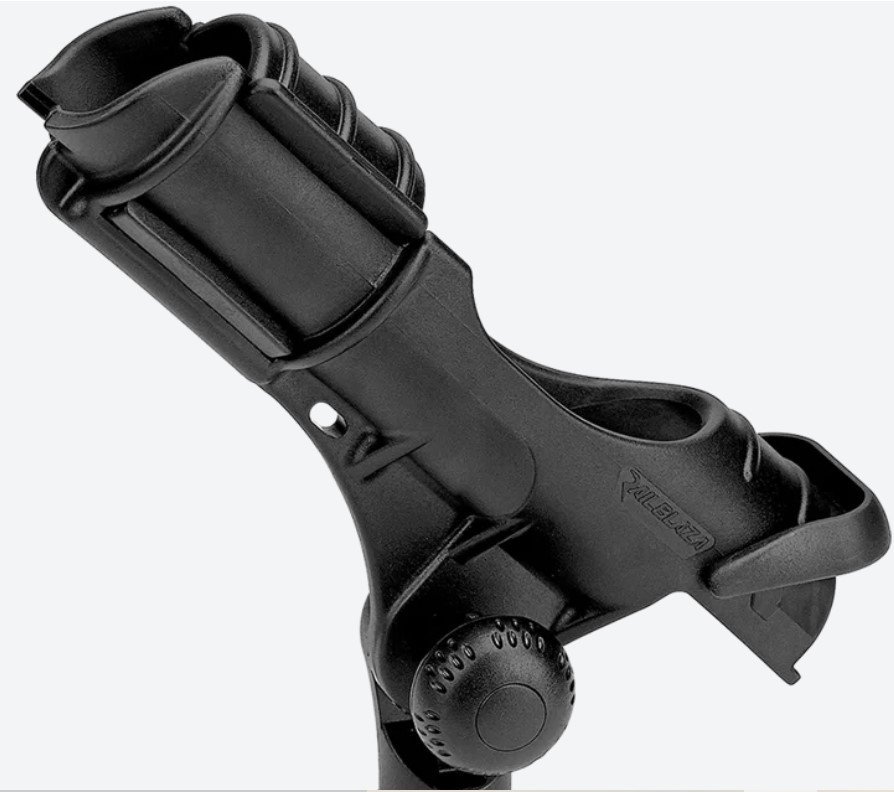
11. RailBlaza Angled Holder:
Options:
Various companies make this style rod holder. They are sturdy, versatile, and rather easy to work with.
Uses:
While it could be used for a net or deploying your anchor, it will be most useful for holding your rod as you wait for that bite.
DIY:
Think of it as a step up from the basic PVC holder experimented with above. Hose clamps can provide the latch at the bottom while a larger diameter PVC ring can be drilled out to provide the sliding clamp at the top. Let your imagination envision this setup.
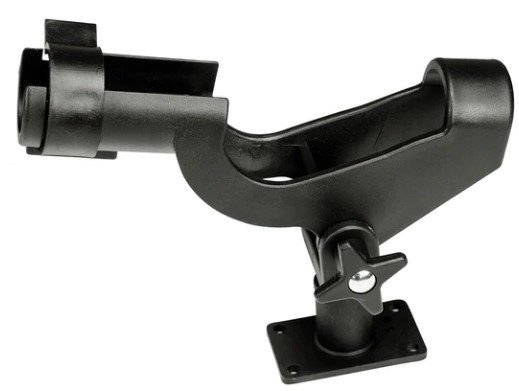
12. Pelican Mounted Holder:
Options:
Similar to the RailBlaze holder just discussed, this is a similar concept but bolts directly onto the surface of your kayak. Remember that with any of these holders, how you attach it to your kayak is as important as how it secures your rod. With pressure points for holding your rod, these types of holders are a bit more simplistic and quicker to reproduce. The choice on style will depend more on personal preference than anything else.
Uses:
Truly, these are specifically for holding your fishing rod pretty much exclusively.
DIY:
Consider using a larger diameter PVC and cutting out the unnecessary space to allow for the rod to slide in and pivot into position.
Your choice of rod holders will depend on the uses you intend to put them through, the amount of room you have on your kayak, and the types of modifications you are interested in attempting. There are very few mods that are irreversible, so don’t be afraid to experiment. Like we’ve talked about with any mod you choose, start with your needs. Refine it with your skill set. Then expand your options by developing additional skill sets with these or other easy mods. Before you know it, you’ll be advancing your skills, building bigger and more impressive mods, and showing off one heck of a kayak on your local lake.

