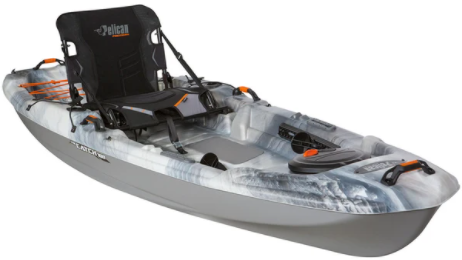

AJ and I each have a Pelican Catch 100 kayak. They’re great, lightweight, basic kayaks to toss in the bed of the truck when you’re running out for a few hours of fishing. We’ve had all kinds of success taking them out on creeks, lakes, and other small waterways. But, we’ve noticed one major drawback.
Nights can get dark.
Both of us tend to be night owls. We fish in the daytime, but inevitably, find ourselves immersed in the adventure and not even close to ready for going in when that sun starts to set. We’ve tried to keep the basic battery set up with us on a few of our trips so we would have the necessary navigation lights. Occasionally we’ve forgotten them and had to rush back to the docks before nightfall. Ultimately, though, we both wanted a setup that would be with us all the time, allow us to stay out after dark when the bite just isn’t slowing down, and maybe provide us with a few extra conveniences.
Deciding how to set up our kayaks were the big challenge.
Now, AJ and I have very different needs for our kayaks. I do most of the filming and photography for documenting our trips.
…I’m new to the concept still, so bare with me as I continue to try and get into the swing of things with this filming concept…
So I needed a setup that would allow for filming angles that AJ doesn’t usually need. I also wanted the ability to charge my phone and other gadgets while we’re out on the water. I’ve started collecting toys to make the fishing more interesting for y’all. On the other hand, AJ is much more focused on experimenting with the lighting that can potentially draw in the big fish.
The solution we came up with allowed for a variety of alternatives. While our kayaks, technically, are wired the same; there are very drastic differences between our two setups.
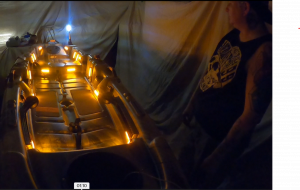
AJ will be the first to tell you that, yes, mosquitos love lights and orange is a potential attractant for mosquitoes. The plan to have the orange courtesy lights on an independent switch is the solution she came up with to ensure she has the available light when she needs it and yet can turn the lights off whenever the insects become too heavily populated!
AJ went for a well lit setup ready to add fish attracting lights in the near future.
I went with a versatile system that will allow me to power a variety of gadgets depending on the goals for the trip.
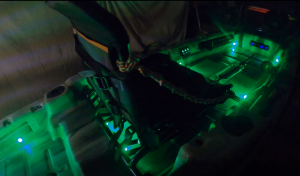
Kat tends to choose green for most color options, especially when it comes to boating and fishing, so it was a natural choice for her. It doesn’t have as much of a propensity to attract those demon mosquitoes, but the green lights can be shut off just as easily with the independent rocker switch when not in use.
We started with AJs kayak thinking it would be the simpler project.
The initial plan was a very basic setup. Her control switches needed to be within reach, but out of the way for the majority of her fishing time. After considering a variety of options, we chose to put them between the seat and the footpeg track. They would be out of her way when using the foot pegs but still close enough to reach without getting out of her seat.
There were a few technicalities that we had to work out with this decision.
First, we had to decide on the number of switches.
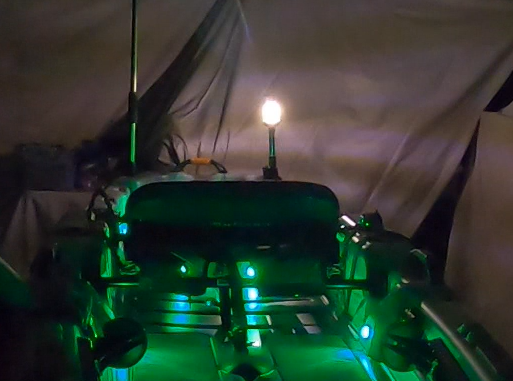
Kayaks, in Texas, must have the 360 degree (anchor) white light on whenever on the water during the night. That requires one switch.
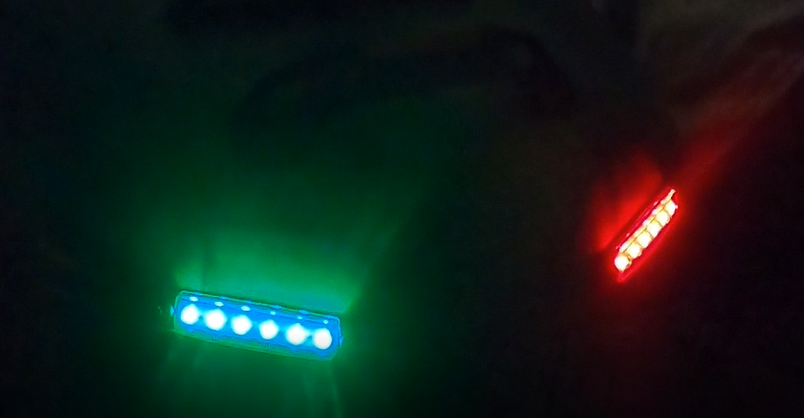
We are allowed to run the Green and Red front navigation lights to make ourselves a bit more identifiable when underway at night. That would require a second switch.
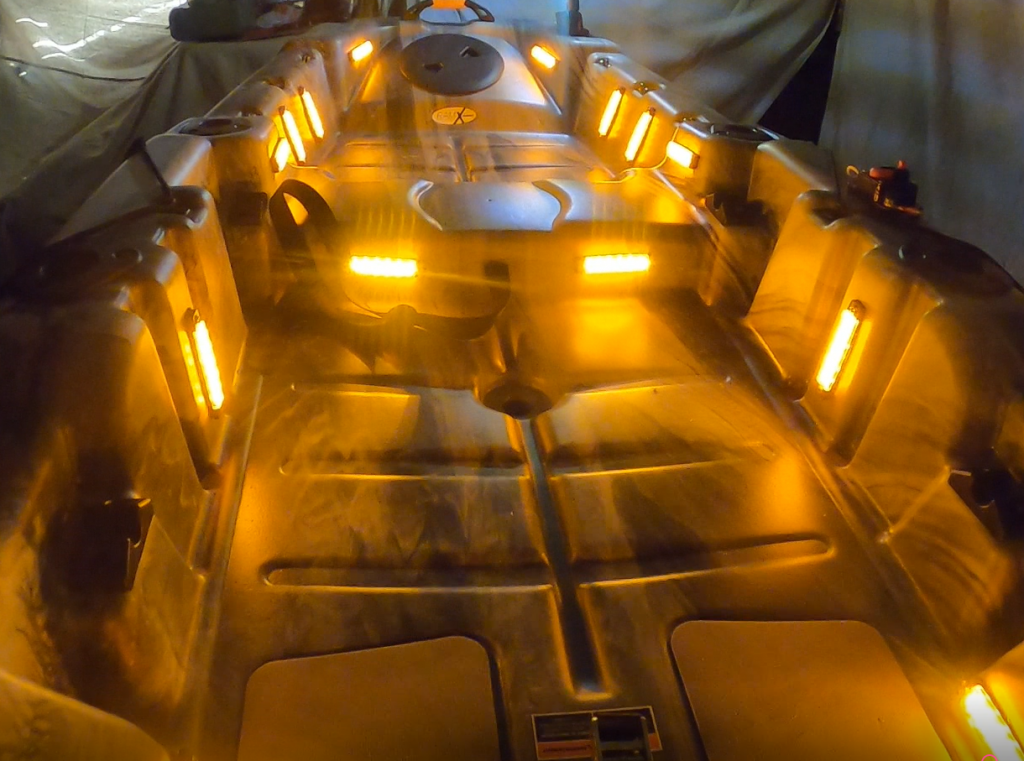
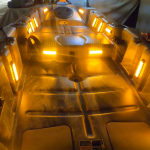
AJ wanted the interior of her kayak to be lit up enough that she would be able to see the lures and rigs as she changed setups. She wanted enough lighting to see all her storage under her seat as well as into her crate behind her seat. That would require a third switch.
Then AJ found some green underwater lights that would work great for attracting the baitfish at night. They have not been hooked up yet, but the wiring and switch are ready for the install. AJ is still deciding on the placement she’s going to want under the kayak. So, we were now up to four switches.

From there we started focusing towards the front of the boat again.
AJ likes to listen to music sometimes. We opted to put a USB charging port in the front of the boat for the options of a radio or for charging her cell phone to run music off the phone. To limit power drain we put this on a fifth switch to allow her to control when it would be on or off.

Finally, in case there was any kind of electrical issue while out on a trip, we decided to put a light inside the hull. This would allow us to check the internal system when neccessary to check the wiring. We were finally settled on six switches.
Our focus for this electrical system had three goals.
First, we wanted the power source to be relatively small and cheap.
Second, we wanted to be able to preserve the power supply as long as possible.
Third, we wanted to have a setup that would allow us to expand and change the system in the future should our needs change. The choice to go with fused bus bars allowed us to set up a system that can be expanded and condensed as our needs change. It also allows us to more directly control the electrical conduction to reduce the loss of battery power as much as we could.
To start, we got our supplies together
Much of what we bought for this project was purchased locally, so the links we are providing here are options that can be acquired on-line and are similar to what we used.
14 AWG Marine Wire (red and black spools)
250 yards of red wire and 250 yards of black wire proved to be enough for both kayaks with just a bit of wire left over.
Heat Shrink Wire Connectors, Waterproof Automotive Marine Electrical Terminals Kit
We originally started with two sets of the 500 piece kits but only needed the smaller connectors due to the wire sizes being used. In hindsight, it would have been best to purchase the smaller sizes in bulk to avoid the left over pieces.
12-Way Fuse Block with ground (marine grade rating)
Due to the amount of lighting on AJ’s kayak and the goal of wanting every light to be independently identifiable for future changes, we used one 12 way and two 6 way boxes for her kayak.
6 Way Fuse Block Holder-Blade Fuse Box with LED Indicator (marine grade rating)
With Kat’s kayak lighting being a bit more simplistic we were able to use one 12 way box on her kayak and just use a grounding bus bar for the remainder of her electrical components.
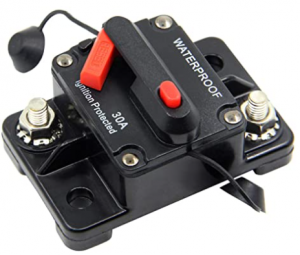
200 Amp Circuit Breaker with Manual Reset (marine grade rating)
Both kayaks had a circuit breaker installed beside the seat to allow for immediate power control. This way the power can be cut immediately if a problem develops and the power can be kept off until an electrical supply becomes needed.
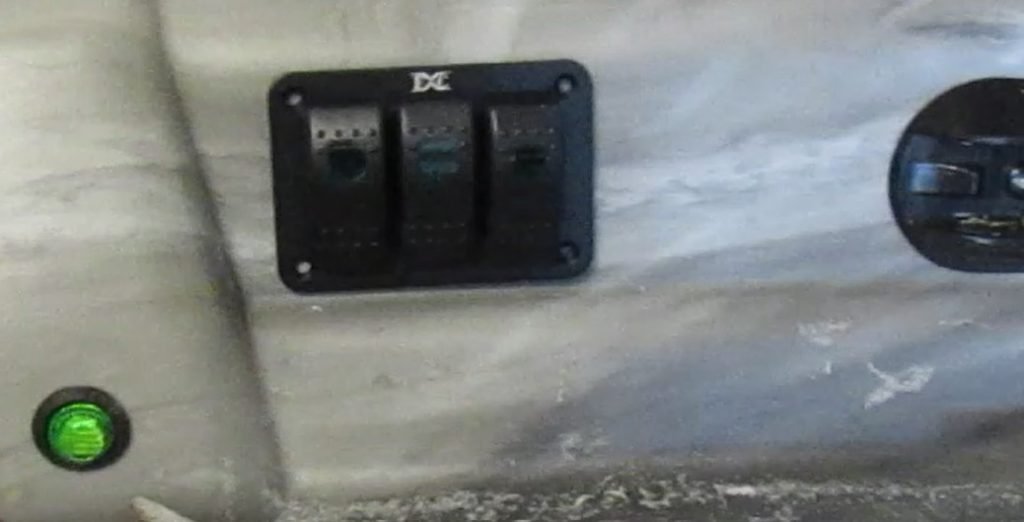
3 Gang Rocker Switch Panel for Boat 12V LED
To keep the kayaks more symmetrical we chose the 3 switch panels so one could be installed on either side of the kayaks. AJ opted for the orange panels to keep with the color theme already started. Kat stuck with green lighting to match her lights.
Marine Grade Silicone Sealant
We chose to use a sealant that dries clear rather than trying to match each color on the boats.
Whenever drilling holes in a plastic kayak, you’ll find a marine grade sealant can become a very trusted friend.
6 inch Round Deck Plate Inspection Hatch
We originally planned on using a hatch that came with an internal bag for added storage, however the placement of the hatch on these kayaks made the bag seam less effective than necessary so we switched to a completely open hatch plate that ended up being even cheaper.
DC 12V Navigation Light set
Though the navigation lights are not mandatory, for non-powered vessels, in Texas we opted to ensure as much visibility as possible while on the water.
AJ and I strongly encourage every kayaker to study her local boating regulations thoroughly. Not only do you need to know what is required, but it is very beneficial to know what is optional.
We talk more in depth about this in “The 3 Rules for Becoming a Successful Angler.”
White LED Marine Navigation Anchor All-Round Boat Light
We found a pack of 10 lights that would be applicable to several of the boat builds we have coming up so AJ and Kat opted to get the 10 pack but only one white light was used for each kayak.
While I believe single lights can be found the prices appear to be much higher than purchasing the 10 pack.
Marine grade Modular Ground Bus Bar
Only one was required for Kat’s kayak. None were used on AJ’s setup.
USB charger port
Multi port charging panel
AJ opted for a single USB charger which allows for 2 cables to be hooked up simultaneously.
Kat used a 4 panel setup which allows for multiple USB ports as well as a cigarette lighter style plug as well.
Multi-Compartment Waterproof Heavy-Duty Storage Bins
12 inch box
6 inch box
To accomodate the layout of AJ’s light system and the wiring for her additional gadgets, we used a 6 inch box as well as a 12 inch box for her kayak. Kat’s kayak was wired to a single 12 inch box. The white light was attached to the storage box to ensure proper lighting in the hull whenever needed.
Interior lights:
Orange LED bar lights
Green LED button lights
White LED button lights
A total of 18 orange lights were used on AJ’s kayak which left 2 spares remaining should we need to do any modifications or repairs in the future.
All 10 of the green lights in Kat’s order were used for her kayak.
The white lights came in a 10 pack as well, but only 2 of the lights were used for this project.
2-pin Power Mount
Kat has started using a YOLOtek Power Stick Gen3 Camera Mount for her kayaks so the power mount was installed on her kayak only.
Tools for a kayak build such as this one do not have to be extensive.
- Power drill and drill bits
- Dremel with plastic cutting blades
- Pliers and Electrician’s multi-tool
- Screwdriver
- Masking and electrical tape
- Metal Hangers
- Heavy duty fishing line
- Label maker
- Stainless Steel, self-tapping, marine grade screws
The Steps were actually somewhat simple:
1) Choose the layout for where everything was going to be placed
- a) Interior lights
- b) Navigation lights
- c) Anchor Light
- d) Power switches
- e) Kill switch
- f) USB port
- g) Fuse boxes
- h) Camera mount (if wanted)
2) Drill holes to size for each item being installed
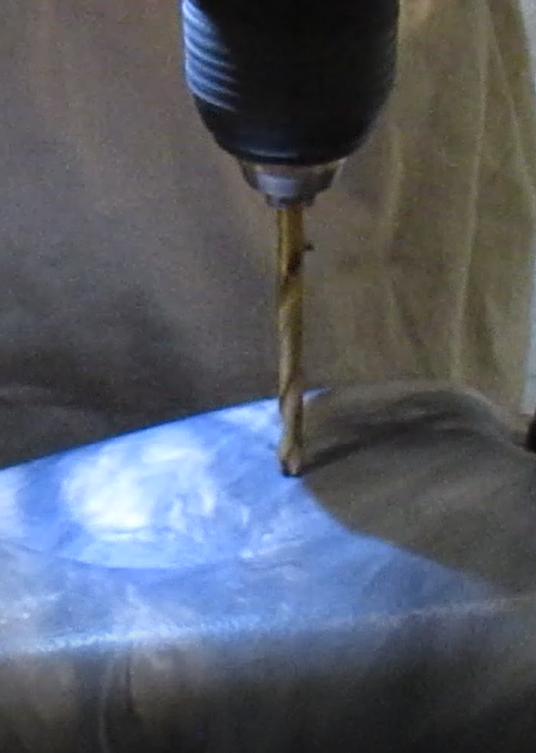
Many of the components (such as navigation lights and the kill switch) only needed a hole large enough for the wire to fit through.
Larger components (power switches, USB plug, etc.) needed size-specific holes.
Be sure to keep all holes to the minimum size necessary and, whenever there is the potential for water, consider using sealant.
One side note, however, is to avoid using sealant around screws. It can cause the screws to not seat correctly and increase the risk of leaks.
3) We then did the cutout for the stern access hatch.
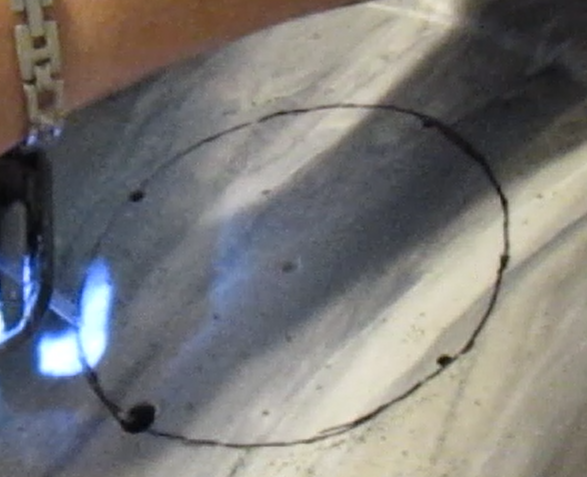
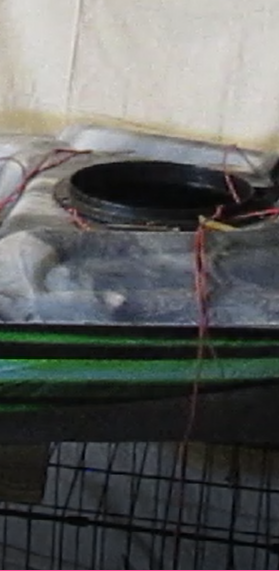
We installed the hatch and sealed it in place at this point in the project.
AJ and I strongly recommend cutting the hole but not installing the hatch until the wiring is completed. The half-inch difference in size makes a huge difference in convenience when running the wires.
4) Next was the process of running wires from every item to their respective connection points.
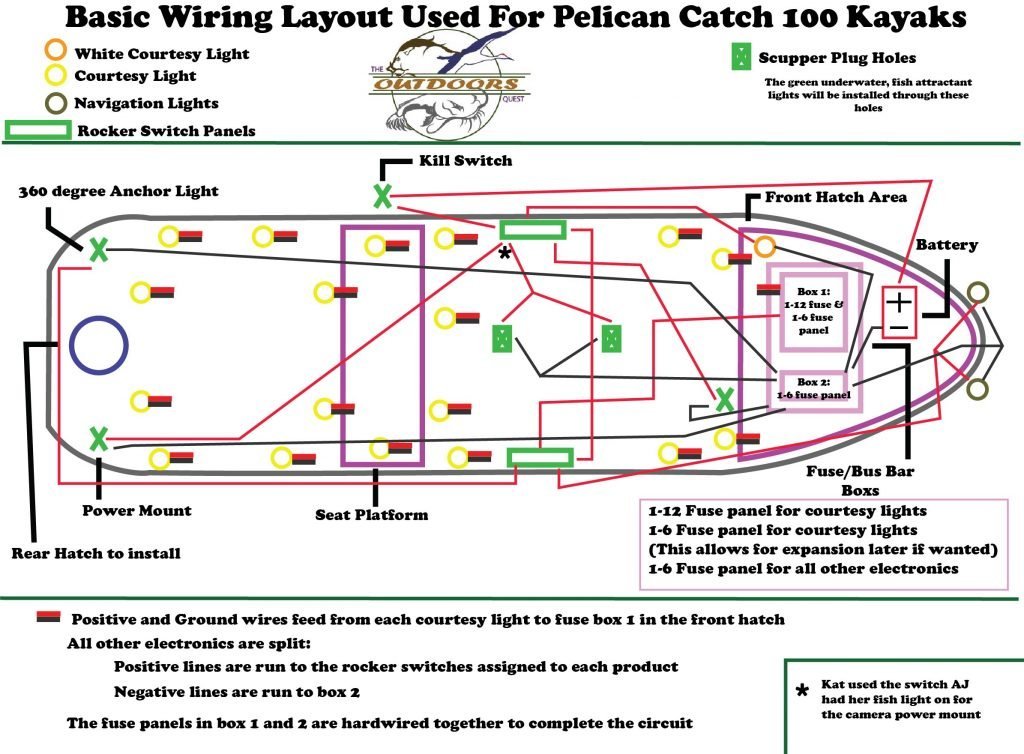
A basic wiring diagram below will show you how we set up our wiring system. We would recommend checking with an experienced boatbuilder or electrician for any wiring system you set up for your own kayak as every product will have different voltage and power demands.
Some products, such as the interior lights, were wired together to allow them to run off one power switch. These items were are wired directly to the front of the boat where the fuse boxes were going to be installed.
The products being wired directly to the power switches had to have the positive and negative lines separated to allow for the positive line to be run to the power switch while the negative line was run to the front of the boat where the fuse boxes were being installed.
5) Probably the most important step, the actual wiring
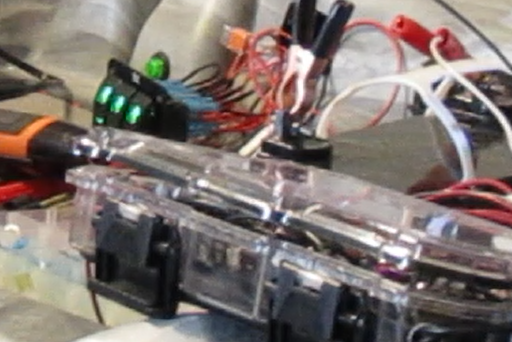
Everything was tested individually to ensure the products were working correctly before going through the hassle of installation.
-
- We came across a couple of products that were not working correctly before installation. Finding it ahead of time saved us hours of backtracking and tracing. We also discovered one brand of lights we had purchased were wired completely backward from what was expected (black was used for positive and white was used for negative).
- After running wires from each item to the front we retested to ensure they were not damaged while running the wires through the hull of the boat and to make sure everything was labeled correctly.
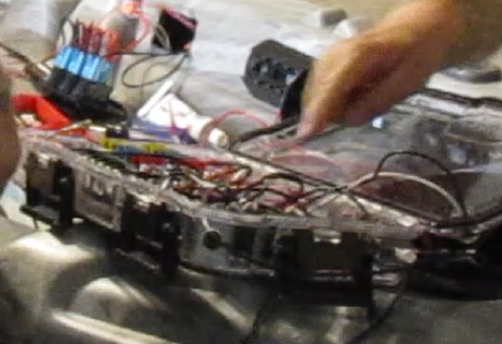
We chose to add an extra step that probably wasn’t exactly needed, but helped us figure out some of the details we had not completely worked out in our heads. We wired everything together (power switches, fuse boxes, bus bar, etc.) on the floor of the boat where everything was spread out and easily accessible.
Once we were sure everything was working correctly and AJ was satisfied with placement for all parts, we secured the wires into the hull and wired everything into the Husky storage boxes we had converted for the electrical system.
The boxes were secured into the hull and the power switches were set into place within the walls of the kayaks.
Every Kayak Mod Project comes with lessons…
What did we learn?
This was not the first electrical system AJ and I have installed in a boat. We wired a full lighting system for our Jon Boat last year and we have done electrical systems for our Big Fish 120s when we installed modified trolling motors. This, however, was our most intricate electrical system to date. Every time we wire a boat, we learn something new. This project was no exception.
First:
Don’t take shortcuts. We forgot to check a few lights before installation and discovered problems that took time to backtrack. So, definitely take the time to check everything you have done each step of the way.
Second:
Make sure you know exactly what your boat can and can’t do before deciding on the modifications you want to install. AJ and I wanted kayaks that could be used day and night. These kayaks were a great option for what we wanted for everything except the lighting. These are definitely not kayaks that we would put trolling motors on. That would require a major revision of the electrical system compared to what we designed and would be more than what these boats could handle.
Third:
Labels are your friend. We wired AJ’s boat first. During her build, we ran all the wires then discovered we weren’t entirely sure what each wire was connected to. It caused a bit of a delay to go back and test every wire to find what was connected where. By labeling everything before running the wires through the boat on Kat’s kayak, we saved ourselves several hours of work as well as massive headaches.
What did these Kayak Builds Cost?
AJ’s Kayak
$
Kat’s Kayak
$
Wire
Connectors
Kill Switch
Rocker Switches
USB port
Orange Lights
White Lights
Storage Boxes
Anchor Light
Navigation Lights
12-port Fuse Box
6-port Fuse Box
Deck Plate
$23.99
$38.95
$19.99
$35.98
$10.50
$23.90
$0.99
$15.94
$21.99
$9.48
$19.99
$31.96
$14.99
Wire
Connectors
Kill Switch
Rocker Switches
USB ports
Green Lights
White Light
Storage Box
Anchor Light
Navigation Light
12-port Fuse Box
Bus Bar
Camera Mount
Deck Plate
$23.99
$38.95
$19.99
$31.98
$27.99
$9.99
$0.99
$9.97
$21.99
$9.48
$19.99
$19.99
$17.11
$14.99
Total Spent on Each Kayak:
$268.65
$267.40
With Kayak Builds, time can be as valuable as money.
In total, we spent about 4 days working on AJ’s boat. Most of the process was done at night after Kat got off work. Kat’s boat, because most of the kinks had been worked out finishing AJ’s boat, was done in a day. As long as you plan out your project, and leave yourself room for dealing with hangups as they come along, you can probably get an undertaking like this done in a weekend. For us, the biggest appeal was two fold. First, we were able to set everything up how we wanted it without relying on someone else to “understand” what we envisioned. Second, we did not have to pay for time, labor, etc. which kept the price significantly lower than what we would have payed an installer.
One big hint I’ll give you is to plan ahead. AJ and I frequently collect parts as we find them on sale for our various projects. As long as you’re not in a rush, and you give yourself time to watch for those sales, you can keep a project like this down to a rather low budget. Had we planned this out over time, we would have been able to cut the cost of this project almost in half. This adventure, though, was a last minute idea which didn’t give us much time to look for those great deals.
Another little trick AJ and I have picked up from our various projects over the years: use drapes. We draped tarps around the work area before doing any of the drilling and cutting for our electrical work. Plastic dust and debris was much easier to clean up this way. Also, we avoided getting any of the mess on the electronics nearby.
Be sure to check out our YouTube video for a good visual of what these modifications entailed.
What mods are next for our Pelican Catch 100s?
Wraps. I already have a basic wrap on my Catch 100, but AJ and I will be changing out the external appearance of both kayaks with vinyl wraps before the summer is over. Be sure to subscribe to our newsletter so you’ll know when the updates are posted.


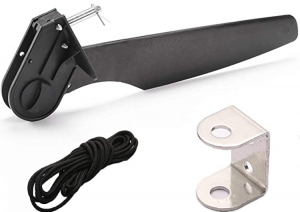
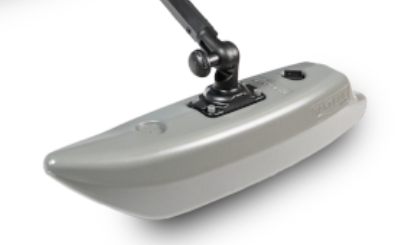
Skegs. AJ and I have decided that the tracking on the Pelican Catch 100 is less than ideal for our normal waterways. We considered putting in full rudders, but that’s truly taking the Catch 100 into a more complex realm than what the kayaks were intended. To keep the setups “simplified” we will be installing skegs to help the tracking and still rely on our paddles for steering. Or Outriggers with camera mounts to give Kat more angles for the shots you’re going to want to see.
