For clarity’s sake, this is not a sponsored article. We do not work with or for 3 Waters Kayaks and are not receiving any commission for this discussion.
A few years ago, AJ and I decided to expand our kayaking adventures to include fishing. Rather than converting our sit-in tandem, we opted to get a pair of dedicated fishing kayaks. We spent several months looking for the “right” kayaks for us. But, we also needed ones that would be available in our area due to registration issues. We settled on the 3 Waters Big Fish 120. We weighed the options it already came with to the modifications we were wanting. Modifications were a relatively new concept to us. We didn’t, yet, have the confidence in our skills to be drilling holes in our boats or plastic welding patches. The modifications we saw on YouTube seemed like very doable options for us as beginners. So, finally, we bit the bullet and bought two Big Fish 120s.

We Started With Learning the fishing kayak basics
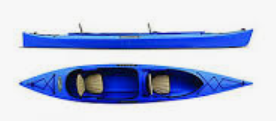
Fishing kayaks are a very different world from tandem touring kayaks (as we call them). On our tandem, we had storage compartments for our camping and all-day treks, and two seats. There was literally nothing else on that kayak. Our new kayaks were about twice as heavy and came with more bells and whistles but, in a way, less storage.
The Big Fish 120s had a variety of moving parts and adjustable settings that are a real advantage to kayak fishing over the basic recreational kayak we started with.

The seat had 3 positions to choose from. The front console can be used for storage or removed for a fish finder or motor inserts. And there are pockets on either side of the seat for storage.
There were storage pockets that could be used for small items, but camping gear and meal prep were going to have to be stored on top.
The seats were significantly more comfortable than the pads they called chairs on our original kayak.
The biggest downside was that they were a bit more work to paddle than the tandem. Realistically, that was due to there being one paddler rather than two, but nonetheless, they were more of a workout for each of us.
Naturally, we had to start with a maiden voyage…
We took the new kayaks out a few times. We wanted to get a feel for how to actually fish from kayaks. An even bigger goal, though, was to figure out the differences between the Big Fish and our old Featherlight. They were more stable than the tandem kayak was, but I still wasn’t confident standing on it. Now, it would be good to point out that I had very little boat experience beyond our tandem kayak when we bought these fishing kayaks. Guided fishing trips on the ocean are a massive difference from kayak fishing. AJ had her time in the Navy to fall back on, so she was a bit more confident than I was.
Once I caught a 3-pound Striped Bass from my Big Fish 120, in the middle of a relatively large lake about 300 yards from the closest place I could have bank fished I was sold. We went home that night and started finalizing our modifications.
The Big Fish 120 is an exceptionally easy kayak to modify
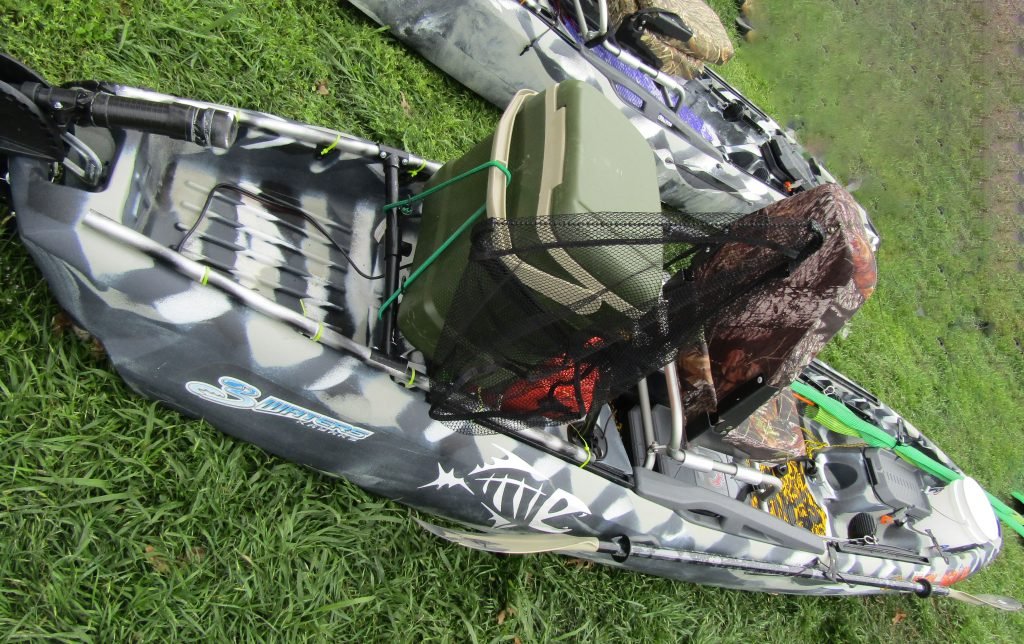
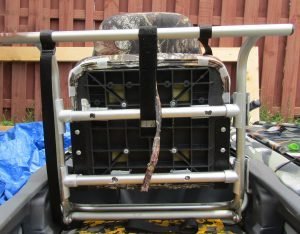
We started with our seats. Yes, the mesh seats are a thousand times better than the foam strips we had before, but they were still a bit ruff on the back end after several hours of fishing. We opted for some boat seats that I built PVC frames for. The frames snapped over the riser bars fairly easily which made the setup extremely secure and easy to install.
Propulsion System?
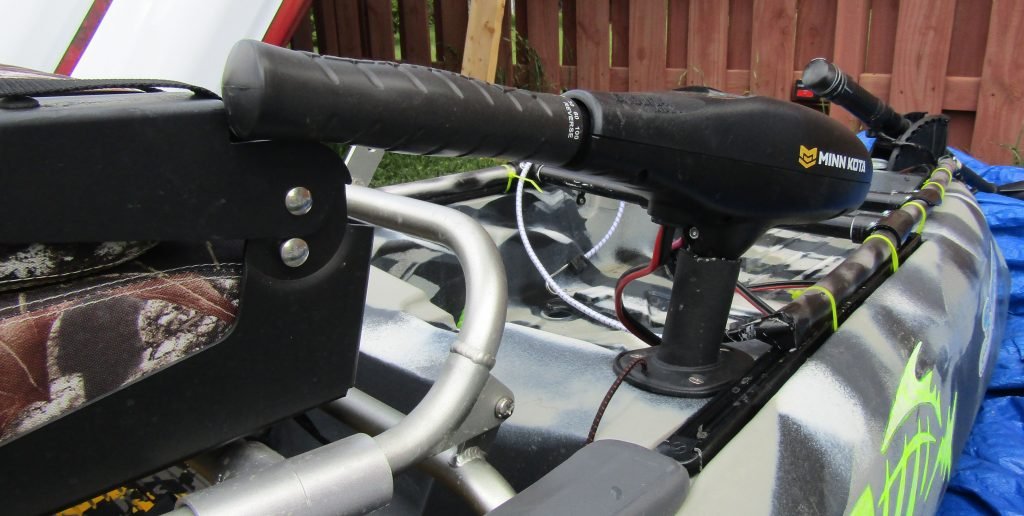
We also decided that paddling while fishing was a bit too cumbersome for us. Neither of us are particularly graceful or coordinated, so the process was proving to be a bit frustrating. We saw several videos of people adding a trolling motor to their Big Fish. Some were side-mounted using the rod holders behind the seat. Several were mounted in the back where 3 Waters was kind enough to install a mounting bracket for a rudder.
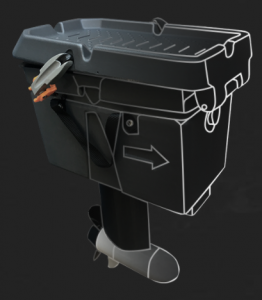
There is now a Prop Pod option available for the Big Fish 120 that sits inside the removable center console. Price-wise, it is more than what we spent on our modification. Most of what we used we already had laying around, but it might have been worth the investment from a planning aspect.
Solutions have required a bit of experimenting.
We kept coming back to two options. We would have to turn around and lean over the seat to control the trolling motor if we put it in the back. Or we’d lose those two rod holders if we built a side mount. Yes, we could have added additional rod holders to the mounting bracket for the trolling motor, but that was going to create additional problems for us. The elevated location would make them even more prone to getting caught up in the trees we frequently pass under while fishing. The central location was going to require us to turn even more to reach the poles. Turning around did not feel like a comfortable option for us in the beginning stages of our learning curve. Also, we were doing these modifications on a very fixed budget so the remote-controlled trolling motors were out of the question.
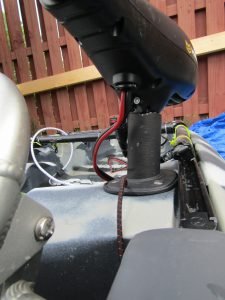
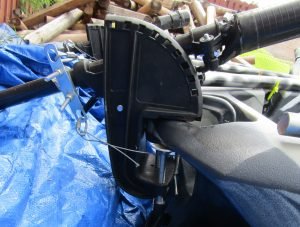
Our solution turned out to be a bit nerve-wracking but, ultimately, well worth the trepidation. We altered the mounting bracket that came with our trolling motor so that it could be secured to the rudder mount. I removed a short portion of the motor shaft below the control system. Next, we ran electrical wires from the seat to the propeller. I was careful to seal each connection to make it as waterproof as I could. At the time, I was unable to find the splice adaptors designed to be waterproof. I probably should have checked for them online, but we were trying to keep this project supplied by local store purchases. I modified one rod holder behind the seat so it would feed straight into the hull. We didn’t want it sitting at that funky 30-degree angle flush rod holders use. I created a shim that would fit in the rod holder. We, then, set up the control module for the trolling motor to sit in the reshaped rod holder right at hip level.
Modifying any kayak or boat will lead to learning all kinds of new skills.
Initially, I used plastic waterproof glue to put the rod holder together in that straight format. A bit of wear and tear, and a great deal of abuse later, we discovered the connection was not as secure as we were hoping. I have since plastic welded the rod holder into a more secure setup that also limits the need for a shim.
There were some directional challenges.
The next challenge became steering. We built a bracket to clamp around the motors shaft then ran wire cables from the bracket to each foot peddle. There were already canals installed in the kayak for the rudder system 3 Waters sells separately. It probably would have been easier to buy their rudder system and modify it for the trolling motor, but we were trying to keep costs as low as possible. We had to pay close attention to the lengths for each wire to ensure they reached proper lengths for our legs without becoming so loose that we would lose control of the steering capabilities. It did not prove to be the easiest steering method, but it proved to be sufficient for our adventures.
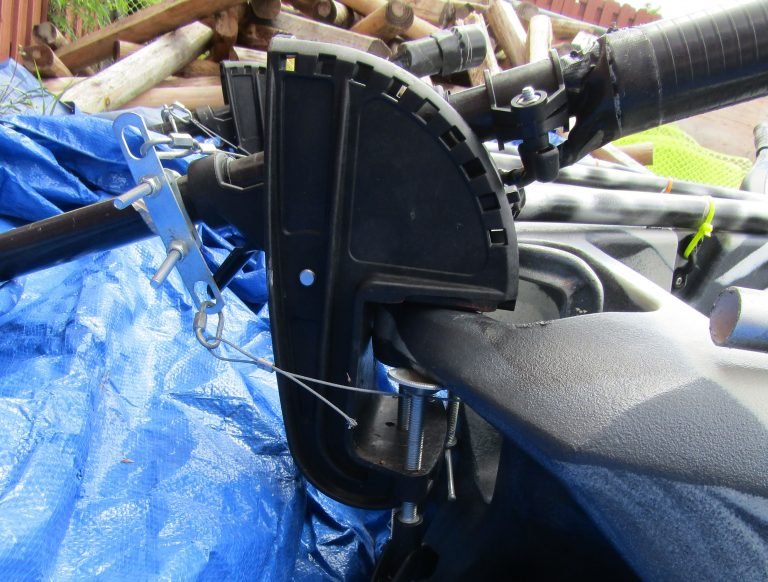
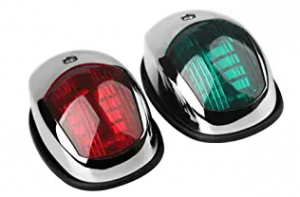
At the time, we still were not doing any night fishing, so we didn’t bother with lights for the setup. I do recommend, however, that you check with your local agencies for their regulations if you’re going to be doing any modifications to your own kayaks. Some places require lights be available even during the day.
I was thankful that I already had some electrical knowledge.
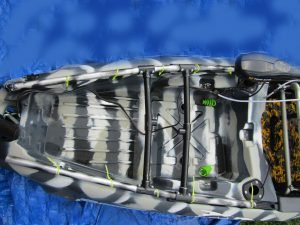
Since we didn’t want to drill holes in the kayak, we ran PVC along the rear storage compartment to protect the electrical wires. I decided it would be a space saver and help with uniformity if I ran PVC along the other side of the compartment. I was, then, able to build a riser across the storage area. In the end there’s a lift that allowed me to put my cooler or livewell about 4 inches above the storage compartment. This way I was able to secure items (tool kit, dry bag, camping stove, etc.) below the cooler.
We were pretty satisfied with the results of our project and took them out several times. The fishing was a blast from the altered kayaks. Having a trolling motor allowed us to stay on the water several hours longer since we weren’t wearing ourselves out paddling. The seats ensured we would still be able to walk and stand upright once we gave in and returned to shore. The true selling point to me, however, was when I was out fishing last summer. A group of kayakers passed by, all males, all hauling massive amounts of fishing gear. One of the guys looked at the one closest to him and said, “I had one of those but it wasn’t that nice. I’d have kept it if it looked like that.”
There have been some difficulties we still want to change.
AJ and I have been talking about selling the Big Fish 120s. Ever since my surgery, it has become difficult for me to move heavy items repeatedly. When you go kayaking you have to move the kayak by hand at least 4 times. After a long day of fishing, those last two moves tend to be a bit more than I can really handle. There may be a solution though. We are building a trailer to transport our Bass Raider 10es. I am considering designing it so that it can be interchangeable for the Bass Raiders and the Big Fish 120s. If we make the modifications that would allow us to not have to lift the kayaks multiple times a day. And, if we keep them, we might work on some other modifications for good measure.
Upgrading the Steering?
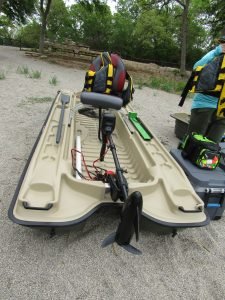
I am considering designing a steering mechanism that would sit at my side and allow for single-hand control. 3 Waters has a hand control steering system for their 103 and 108, but not the 120. I have noticed that the peddles are a bit stiff to maneuver. AJ, however, has found a possible solution to the problem with new tracks and peddles that we may be able to use. Switching out the foot controls could make steering easier while leaving our hands free for fishing. What would you prefer? Single hand control or smoother foot controls?
I started wondering about the idea after watching a few anglers who fish from foot pedal kayaks that have hand steering. I was trying to get a better idea of how those kayaks are designed when I came across “Ultimate Kayak Mods – DIY Kayak Steering Upgrade – Shown on Jackson Coosa FD.” With his system, and a few extra modifications to accommodate the Big Fish format, I think there might be a solid system forming.
Always protect what’s under water!
Now that we are getting more into night fishing, we are probably going to add lights to the kayaks when we add fish finders. Now the funny part is that we don’t really want the fish finders for finding fish. We’re simply using them to watch for shallow areas to reduce the risk of getting the kayaks stuck. We are notorious for fishing in very shallow areas and, inevitably, getting our kayaks stuck…Don’t ask me how…We’re just naturals at it!
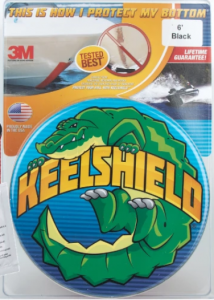
Another change that absolutely must be done (to all plastic boats in our opinion) is a keel guard. Even if you’re not prone to running into under water obstacles, there is still the issue of pulling the boats in and out of the water. The better protected the underside of your boat is the longer it will serve your purposes. We’ve opted for the Keel-Shield Guard for all of our current projects, but there are several options out there so make sure you do your research to find the one that will work best for your needs.
The Big Fish 120 project was the true jump off point for AJ and me. These modifications that we made were relatively simple and unobtrusive. The results were infinitely more complex.
Check out the plans currently in the works for our Bass Raider 10e boats from Pelican.
Be sure to check back soon for a breakdown of another boat build/modifications project we did on a 14 foot Jon Boat.

