During our last discussion, we talked about the different styles of bait available to anglers in todays industry. Let’s dive a bit deeper into the details of live bait fishing and how you can begin developing your own system for the live bait style of fishing.
Live bait is a difficult choice for many new anglers. Anything alive will leak fluids. When something is alive it will react to you grabbing it, squeezing it, and putting a hook through it. Many new anglers are a bit reluctant to participate in these experiences. As you become more familiar with fishing tactics and techniques, this reluctance often passes. Many anglers have multiple years of experience piled into their fishing nets yet have never used live bait. Don’t feel like you’re making a wrong choice by not using live bait. We simply want to make sure you have a general idea of all your fishing options and how to begin experimenting with the different techniques.
First of all, what is Live Bait?
The Oxford dictionary describes it as: “Small living fish or worms used to entice prey.” AJ and I tend to see this as too limiting for modern fishing practices. Depending on your location, the fish you’re targeting, and the style of fishing you’ll be doing there are massive amounts of options for what you may use as live bait.
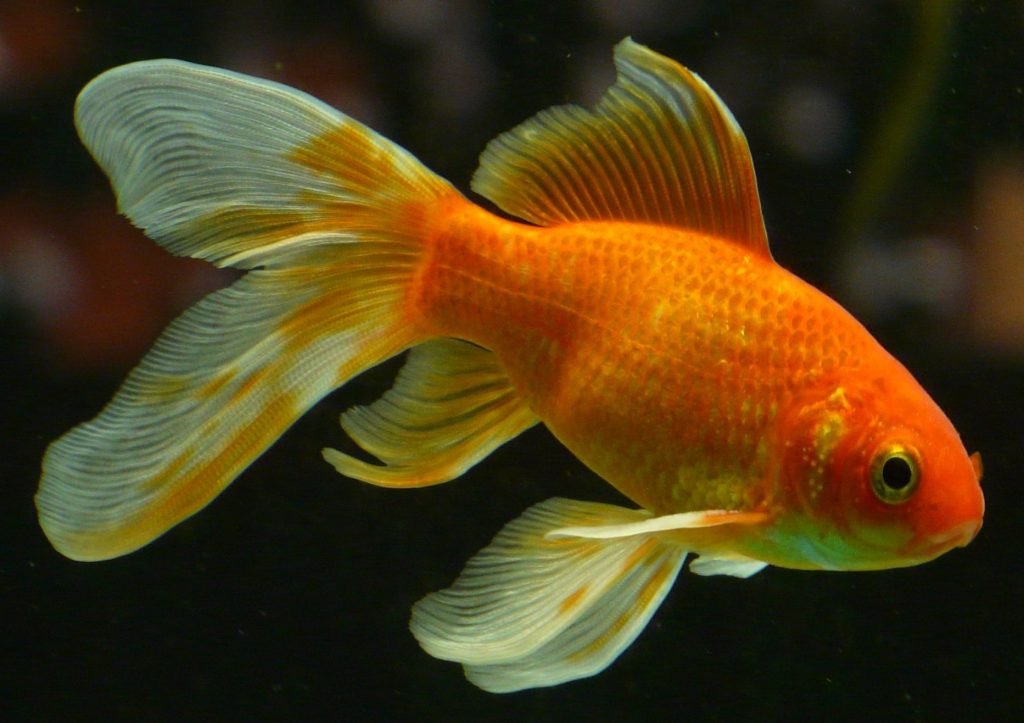
- Goldfish
- Minnows
- Shad
- Crawdads
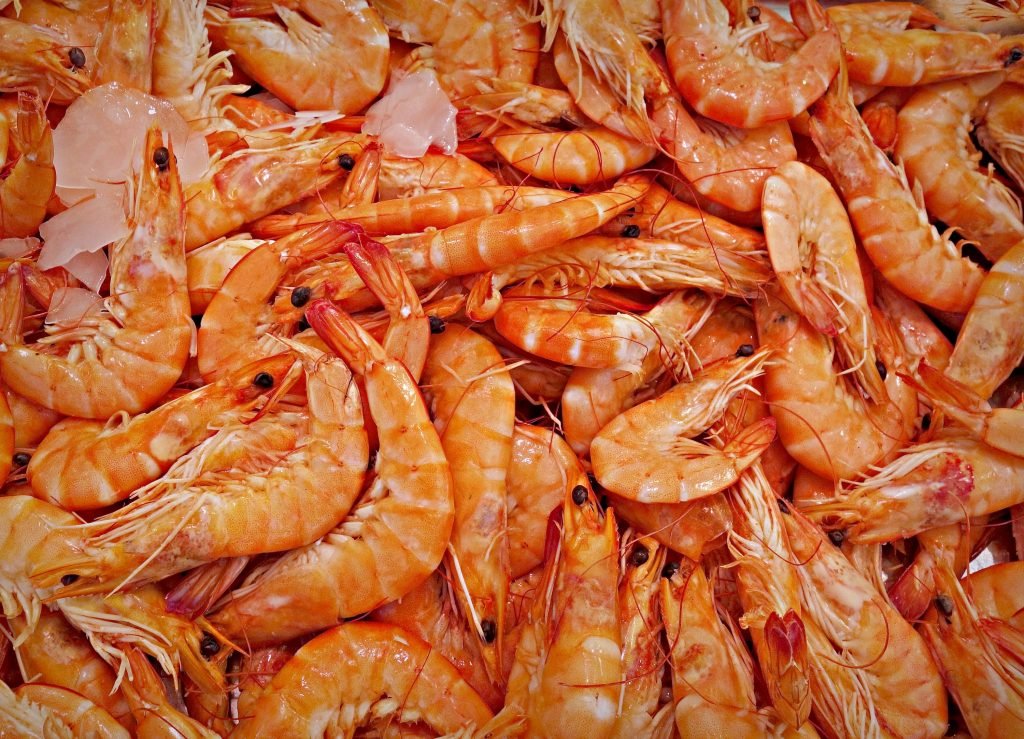
- Shrimp
- Muscles
- Nightcrawlers
- Maggots
- Waxworms
- Eel
- Squid
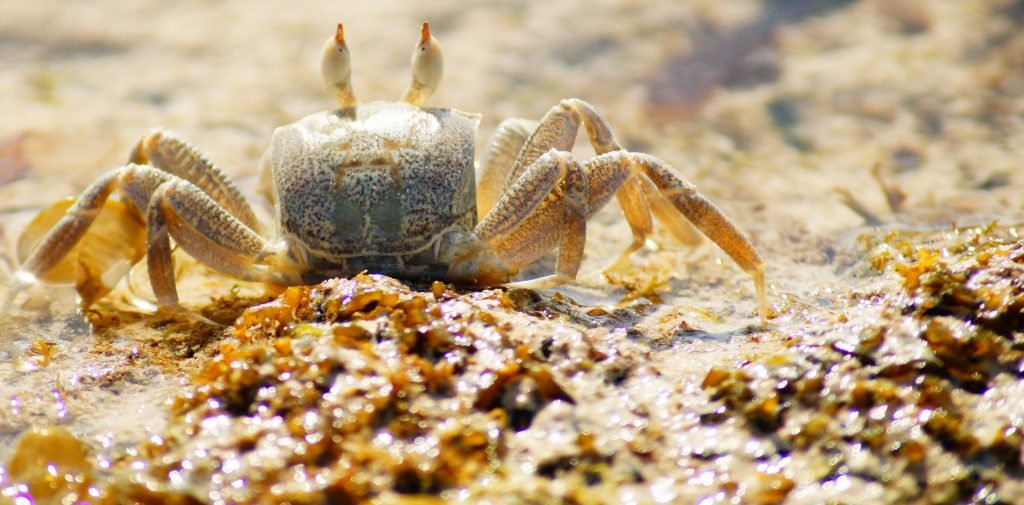
- Crabs
When it comes down to it, anything that is alive (when you put it on your line) and has the potential to catch a fish can qualify as live bait.
Are you limited on what you can use as live bait?
Yes.
With today’s regulations and laws, you must always ensure you know what the restrictions are going to be for the location you’re fishing. In the “Three Rules of Becoming a Successful Angler” we talk in detail about the need to know your local fishing laws. Every state will have different laws and restrictions for what is or isn’t allowed. And in many cases, those restrictions will even be broken down into what is or isn’t allowed by specific waterways.
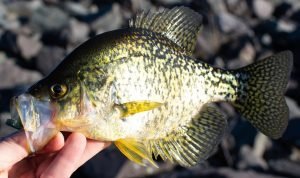
Take, for example, the use of crappie as live bait. Nebraska allows you to use crappie as live bait if you caught the crappie in the waterway you are fishing. Texas, on the other hand, does not allow you to use crappie as bait no matter where or how you caught it.
Another example would be the Red Swamp Crayfish. You are not allowed to use it as live bait anywhere in Nebraska while you are able to use it in Texas.
How do you choose what bait to use?
We talked recently about the need to match the environment your fishing in. This is especially important when it comes to live bait.
First,
and probably most significant, is the fact that you do not want to be the cause of damage to your fishery. When live creatures are introduced into the environment they can bring with them natural bacteria that the local species are not able to combat. Non-natural species can adapt easily and become a challenge to the food chain already established. Some of these foreign species can even become predators that may wipe out large populations of other species.
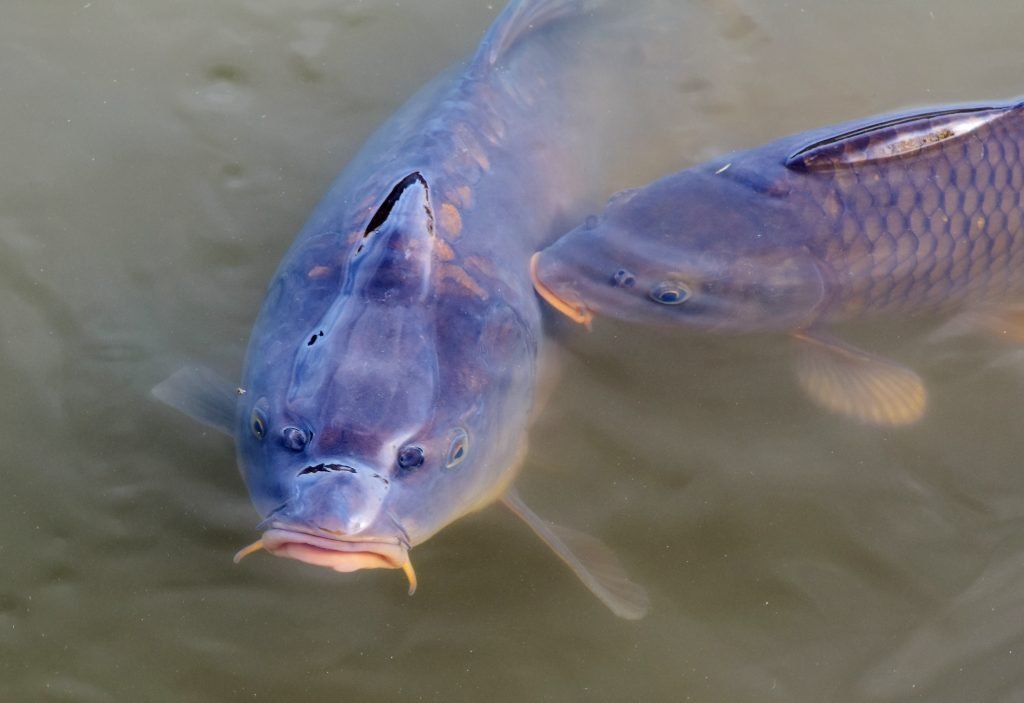
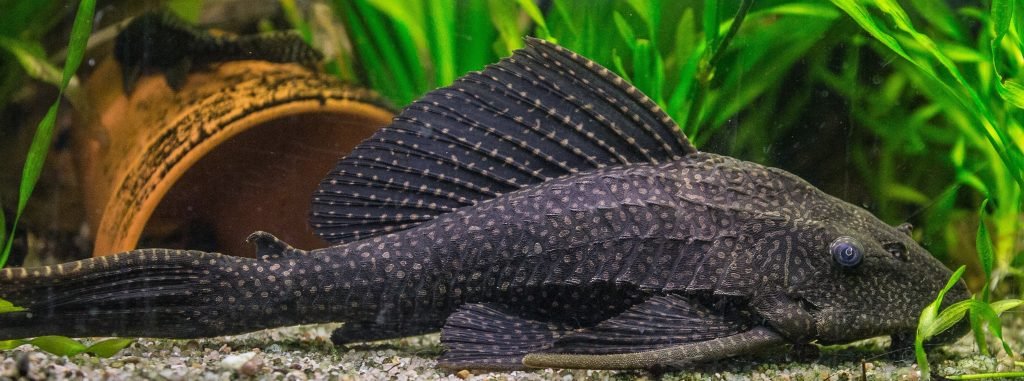
To get a bit of backstory to some of these issues, you may want to check out the article on History.com about invasive species here in the US, the explanation by The National Wildlife Federation, or the account by National Oceanic and Atmospheric Administration about what has happened so far and what efforts are being made to get some of the damage under control.
Second,
while some fish will be naturally curious and take a taste of creatures they have never tried before, your response rate will typically be much lower than you probably want. The best solution is to provide your target fish with food sources they are already familiar with and already know taste good.
Once you have chosen your live bait, you need to rig it.
Three of the most common rigs for live bait fishing (salt water as well as fresh) include the Carolina Rig (Fish Finder Rig), the Knocker rig (Think Texas rig) and the Hook and Bobber rig.
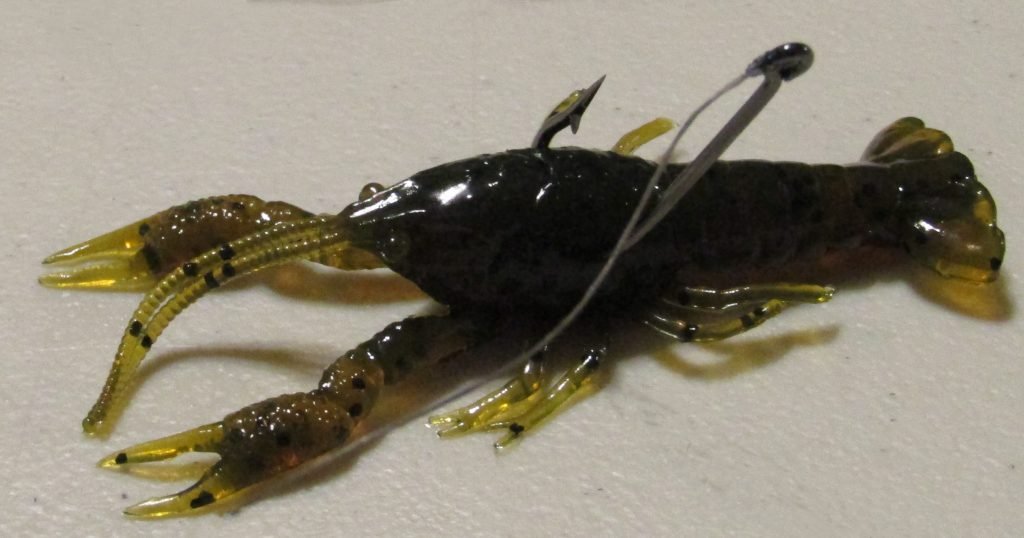
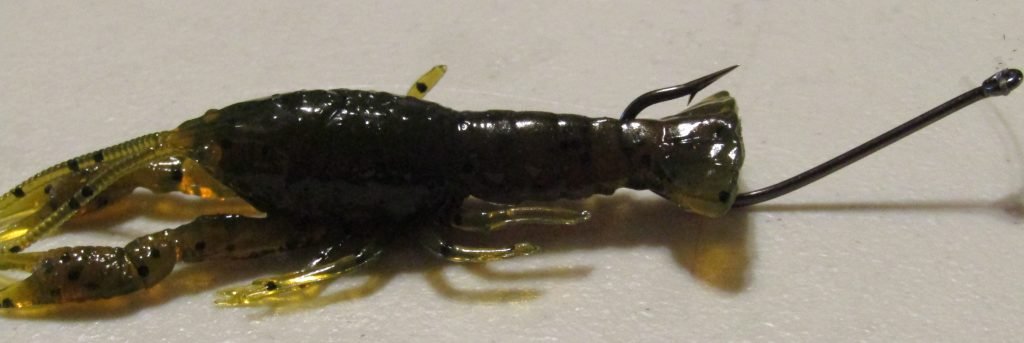
You’ll probably start to notice that most rigs used for live bait are going to be well suited to artificial baits as well. For the purpose of these examples we have used some soft plastic artificial baits to give better clarity for the diagrams. Just remember that the artificial creature, when rigging a live bait presentation, will actually be a live critter suitable for your target fish.
Carolina Rig (Fish Finder Rig)
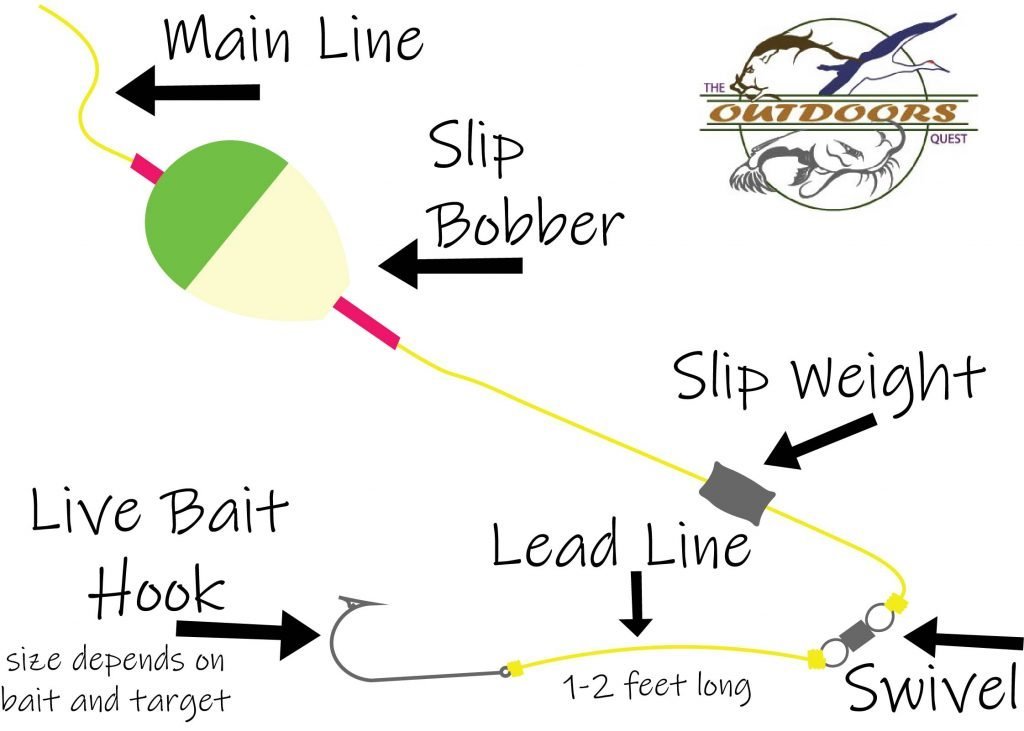
How to setup:
You will put a weight on your main line. You can place a bead on the main line after the weight if you choose. Then you will tie on a swivel. We recommend using a swivel rated for at least three times the weight of your live bait. A palomar or improved clinch knot will probably work best for you. You will then attach a lead line to the other end of the swivel. It will be best to stick with the palomar or improved clinch knot here also. After about 1-2 feet of lead line, you’ll attach a live bait hook. When you’re ready to cast your bait out, you’ll attach it to the hook, and cast.
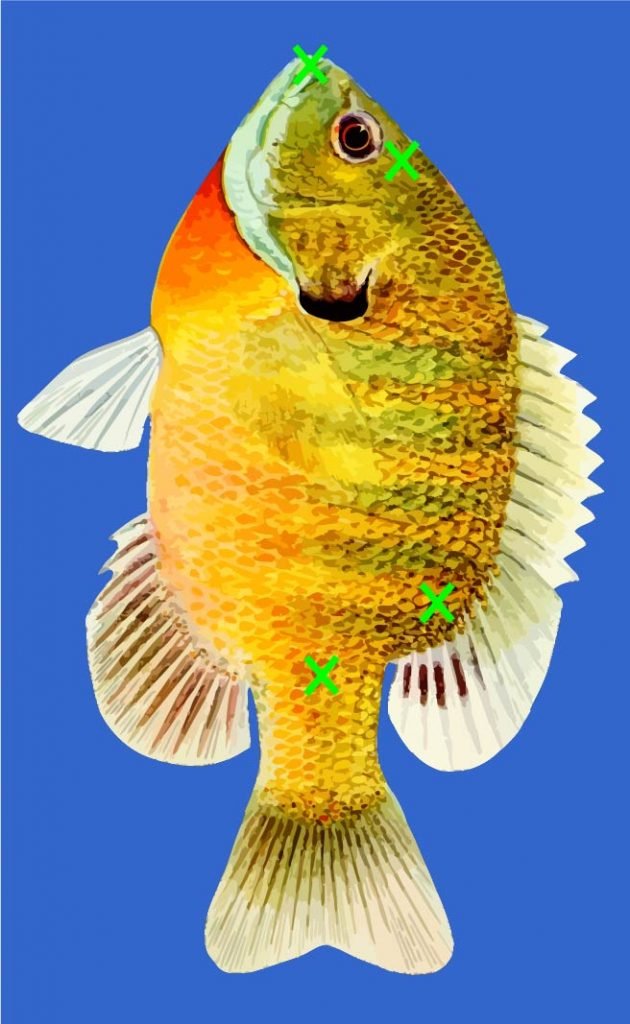
AJ and I typically put our hook through the nose or just behind the dorsal fin (above the base of the tail) for our fish. On crawling creatures (crawdads, shrimp, etc) we will normally hook the center of the back or the base of the tail. Worms, we either hook 1-2 times through the core or run the hook through the center of the body from head to tail.
Uses:
These work great for live bait that are going to move around and need to be kept within a specific range of mobility. Fish, Crawfish, Prawns, and similar critters work well for this setup. The swivel acts as a buffer between the weight and the hook. Your live bait will have the freedom to crawl or swim around up to the end of it’s “leash.”
Advantages:
When your target fish is predominantly a bottom feeder (catfish, carp, large bass) you want the bait to be in their face right about where they would expect to find their normal meals. The Carolina Rig allows your live bait to move around naturally. It keeps the bait within that normal feeding channel. Most importantly, it reduces the risk of the bait getting tangled up in the line while moving around.
Precautions:
Some choose to use a bead between the hook and the weight. If you’re using a bead, consider using a plastic bead to better take the beating a weight will produce. This is strictly an issue of making your gear last as long as possible. If you choose to go beadles, look for higher quality weights that have a smoothed center hole that is less likely to damage your knot. If your weights have a sharp or ruff edge along the threading hole, you may want to use a small file to smooth off the corners for added protection of your line.
Knocker Rig
How to setup:
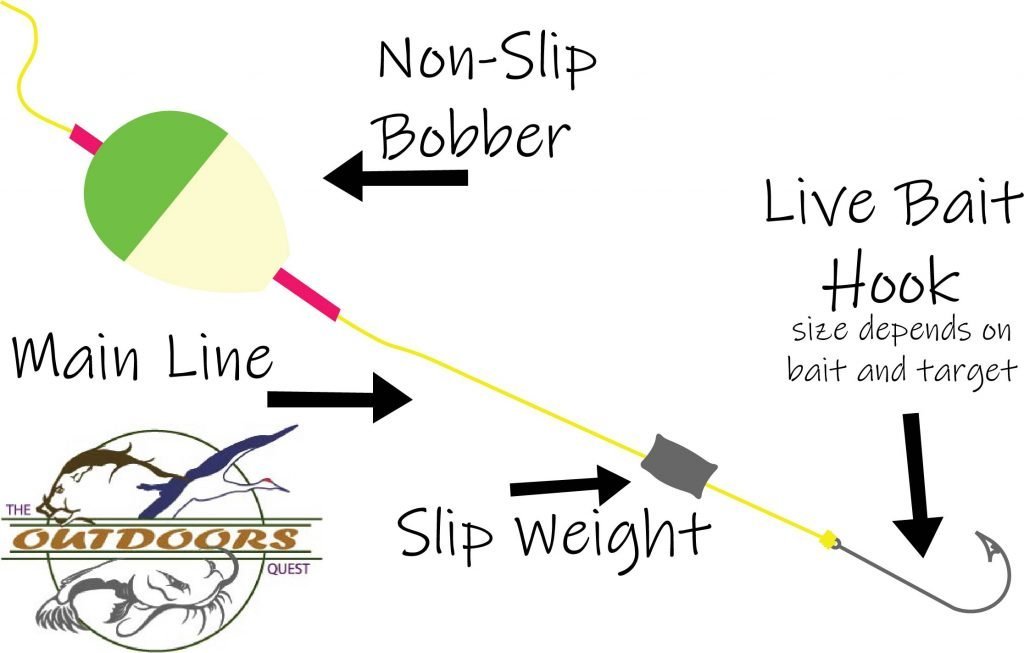
This is probably the easiest setup you’ll use. Put a slip weight on your main line then tie your hook to the main line. You can put a bead between your weight and hook, but AJ and I have found this to be less effective for us. You can use the Palomar or Improved Clinch knot here as well. The bait will be hooked up the same as we described above or you can run the hook through the bottom of the fish at the base of the tail to allow it to swim upwards more naturally.
Uses:
When you are fishing in low to virtually no current you don’t have to be as restrictive of allowing your live bait free movement. With a lack of current, the slight resistance the weight offers will typically be sufficient for keeping your live bait within a reasonable zone. With the ability to more freely roam, your bait will have an even more natural presentation.
Advantages:
The natural presentation is a huge advantage when fishing live bait this way. The limited amount of necessary gear is a great advantage to setup as well as costs. Then there’s the huge advantage to retrieval. When you are reeling your bait in, sometimes you’ll catch the hook on dibries or tree branches under the water. When the hook get’s caught, the weight can be used to knock the hook loose. What you would do is let off a bit of slack. This will allow the weight to separate from the hook. A quick snap can bring the weight up to the hook, knocking into it, and freeing it from the structure holding up your progress.
Precautions:
The biggest concern you need to be aware of is the complication that comes from currents. Even when the water surface looks calm, there can be an undercurrent. Be sure to test the waterway before using a knocker rig. When your rig is sitting in a moderate to strong current, your live bait is already inclined to move away from the weight. Without the current, the weight will provide enough resistance to limit the bait’s distance. The current, however, is prone to pulling your live bait away from the weight. Once your bait is pulled too far away from your weight you are risking two major problems. One, you may miss the bite (due to the massive expanse of slack). Two, the bait can get tangled in various structures as the bait wanders virtually unrestricted due to the added help of the current.
Hook & Bobber Rig
How to setup:
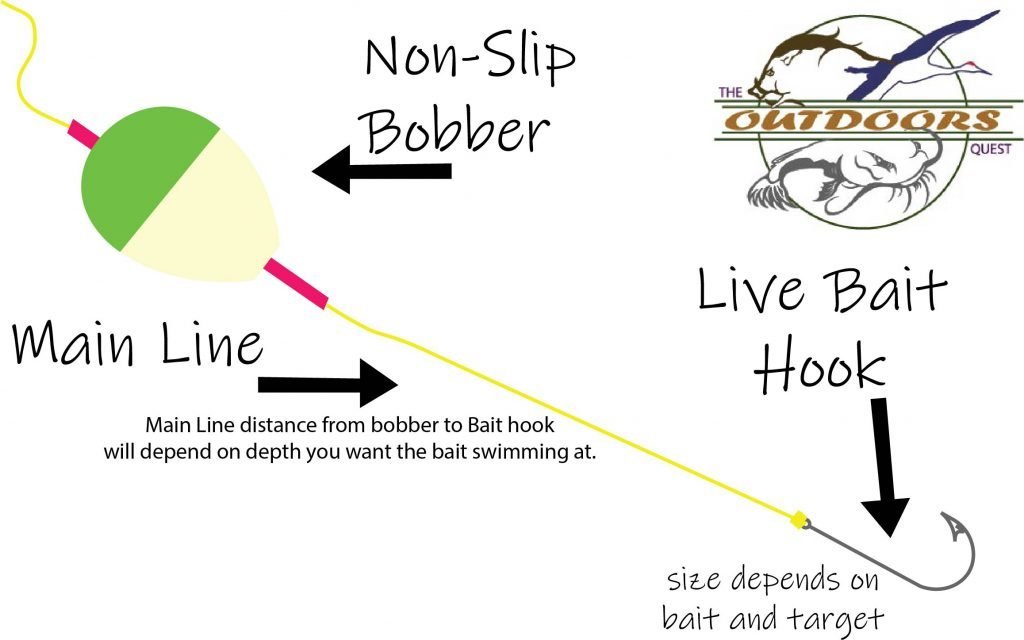
Tie a hook to the end of your main line. It’s best to use a palomar or improved clinch knot like above. Place a bobber on your main line at the distance from the hook that you want to set for your bait. This could be a foot or more. Your fishery and target fish will determine the depth you want to fish at. Then, hook your bait to your line just like above when you’re ready to cast your line out. Your choice of line and bobber will be dependent on what bait you are using and what your target fish will be.
A bit on bobbers:
Most new anglers tend to use bobbers larger than what is truly needed. A good rule of thumb I was once told is to pick the size bobber you think is necessary, then attach a bobber one size smaller. It was a tip that got me seriously thinking about my bobber selection and has helped with several frustrations over the years.
The key to remember is that your bobber only needs to be buoyant enough to keep your bait floating at a consistent depth when normal pressures are being applied by your live bait.
If you attach a bluegill to your bobber and it is so buoyant that the bluegill can not dive while being chased you will run into two major problems. First, you are not going to be as likely to know that your bait is being targeted. This can significantly increase your chances of missing the bite. Second, your bait is going to set off all kinds of warning alarms in your target’s mind. A fish swimming in the water way is not going to be stopped by an invisible barrier preventing it from swimming down as being pursued. This warning will inevitably forewarn your target that this is not going to be a real meal and you are likely to never get a chance at a hookset.

Uses:
This is a very reliable method for fishing with live bait in almost every setting imaginable. AJ and I have caught bluegill, sunfish, crappie, large mouth bass, stripped bass, and catfish using this technique. The biggest key is to keep your bait in the proper water level for the type of fish you’re targeting. The second key is to remember that all fish eat so, no matter what you’re target fish may be, you’re likely to catch anything that is in the water.
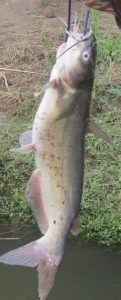
I was fishing for bluegill recently. My hook was set about 3 feet below the bobber where the school was collecting near the inlet. All I was using was a Number 8 mosquito hook and a waxworm. I got a small tug that I figured was a 2-3 inch blue (perfect for the bait I was wanting to collect). A couple reels working the fish in and I knew I had something much bigger. It took a good bit of work with the light setup I was using, but I pulled a 15 inch catfish in that was barely hooked at the edge of the lip.
The hook and bobber method is a common technique used to introduce people to fishing and gives you the widest range of retrieval tactics. You can toss your bait out and just let it do its own thing or you can use a retrieve once the bait is out in the water. Slow retrieves are going to be, statistically, more successful than fast retrieves.
Advantages:
The bobber helps set the hook which often results in your target fish being trapped before you even have a chance to respond. While you will still need to pay attention, the constant watch and standing at the ready is not as necessary as techniques with artificial baits.
Precautions:
Long casts can frequently result in your bait getting tangled in the bobber as both will fly through the air at different speeds often resulting in a rotational pattern. You can avoid this by either making your longer casts extra gentle or reducing the distance of your cast.
Live bait, such as fish or crawling critters can often be put out close to the bank or boat. You can, then, allow it to wander with an open bail until you get the setup closer to the distance you are targeting. Another caution you need to be aware of is that when your bait is being chased it will flee in every manor it can come up with. That fleeing can result in your bait tying knots into your line or even tying itself up in the line. Both results will discourage your target fish from attacking and cause major headaches for you.
A fourth rig to consider is the popping cork rig.
While this is more of a saltwater fishing style, it is beginning to pick up quite a bit of relevance in the fresh watter fishing world as well.
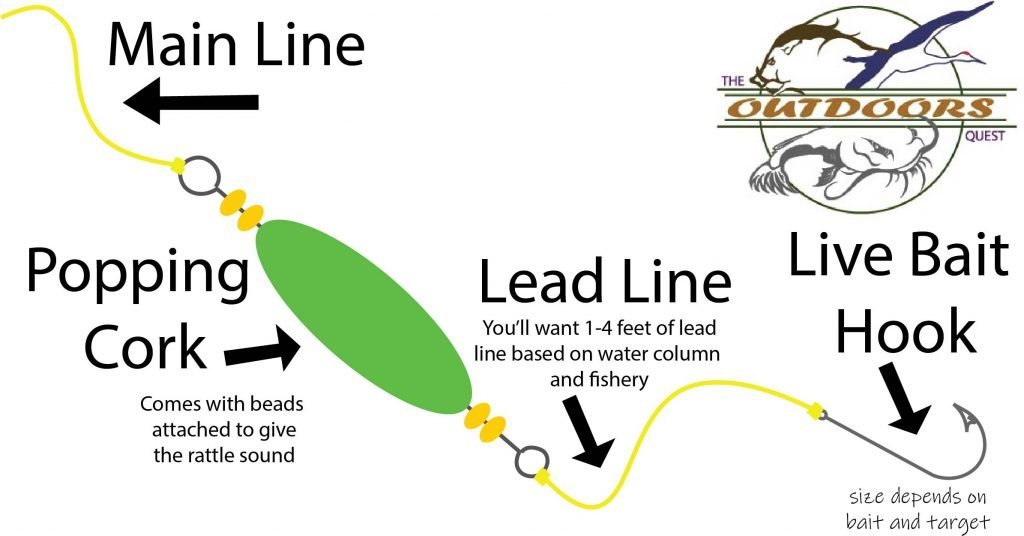
How to setup:
Tie your main line to the top of the popping cork. Attach a leader line to the bottom of your popping cork. Then connect your hook to the other end of your leader line. You will typically want 3-4 feet of leader line for deeper waters or 1-3 feet for shallower waters. Your knots are still going to be the same as your other rigs.
Uses:
This, ultimately, is the same as the hook and bobber setup with a twist. The popping cork has a weighted side and a non-weighted side to keep it upright in the water. There are beads built into the bobber that act as noise attractants. Current, waves, and the natural motion of your live bait will cause the popping cork to literally pop in the water, rattling the beads, and causing a vibration in the water to make nearby predators believe the live bait is injured and easy for the taking.
Advantages:
Like the hook and bobber setup, this rig requires little effort on the anglers part. While you can nudge the line from time to time to help with the rattling effect, the natural movement of the waterway will typically be sufficient to call attention to your bait.
Precautions:
The problems you can come across are equivalent to that of the hook and bobber issues. Your bait can tangle up with the bobber. More drastically, however, the popping cork has several more gaps where the line can tangle and loop. Your best solution is to keep a bit of a closer eye on your bait. You’ll also want to make sure you keep a gentle, smooth, flow to your cast. When I was learning to cast the popping cork I frequently tangled my bait around the eyelet of the cork due to my heavier casting technique. As I learned to cast with less force I greatly improved my success rate.
This is only your starting point.
As a newer angler, you are probably reading this to get a basic understanding of fishing with live bait. The more you fish, the more you experiment during your adventures, the more technical your knowledge will become. There are many other fishing methods and rigging styles in use throughout the world. Some may work even better for you than what is listed here. However, without the foundation in these standard, reliable, rigs you will struggle with learning the intricacies of the more advanced styles.
AJ and I strongly encourage you to work with these 4 go-to live bait fishing riggs. Get a bit of confidence under your belt. Then embark on your own, unique, quest to develop a set of rigging methods that work best for you. Fishing is a very personal and individual type of adventure. While the basics are a steadfast in all of our arsenals, the details are individualized to each anglers personal quarks. Given time, you’re going to find your own unique styles that work best for you.
