In 16 Great Kayak Mods Requiring Few Tools we talked about a few of these tools, but exactly why are they so important to kayak modifications? And exactly when do you need them?
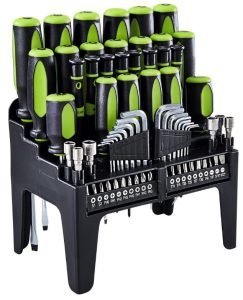
1. Screwdriver Set
Almost every project you take on will require screws. While it is quick and easy to use a power drill, you are highly likely to strip the hole, damage the screw, or damage the equipment you’re trying to install. Especially as a new kayak modifier, you will want to play it safe and use a screwdriver rather than a power drill when installing screws.
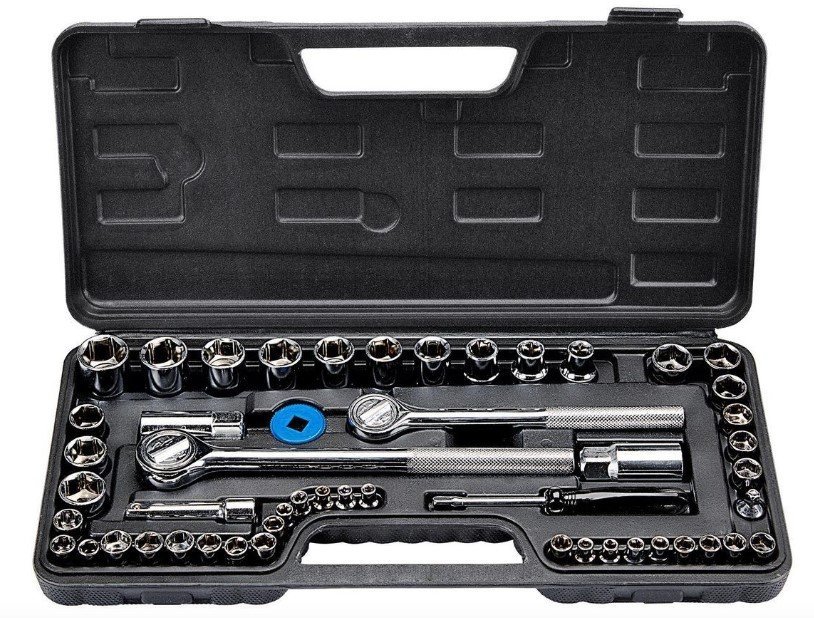
2. Ratchet Set
Nuts and bolts are all over your kayak. They’re installed on many kayaks when you get them from the dealer. They’re used to install a variety of add-ons and modifications. While you can use a wrench, and will occasionally have to use a wrench, the ratchet set will save you countless headaches and potentially hours of frustration.
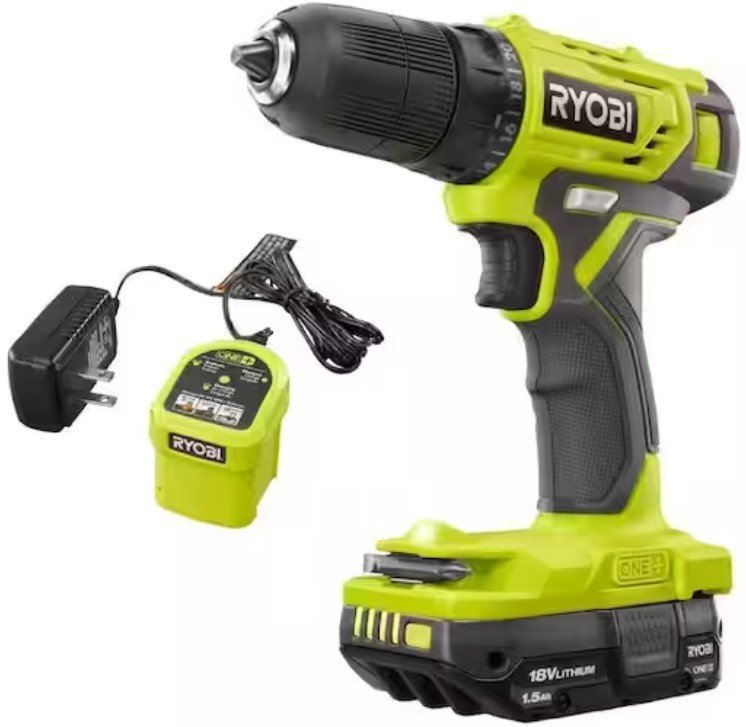
3. Power Drill
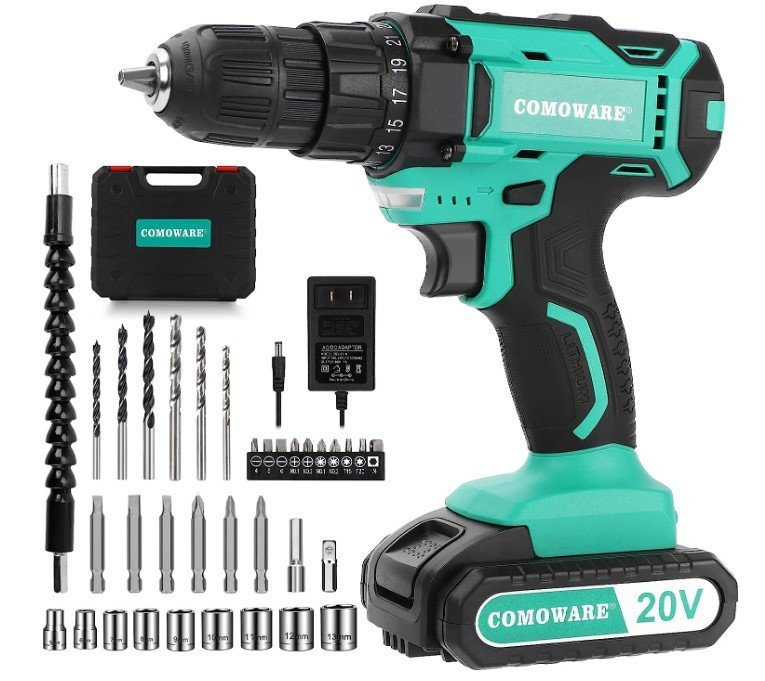
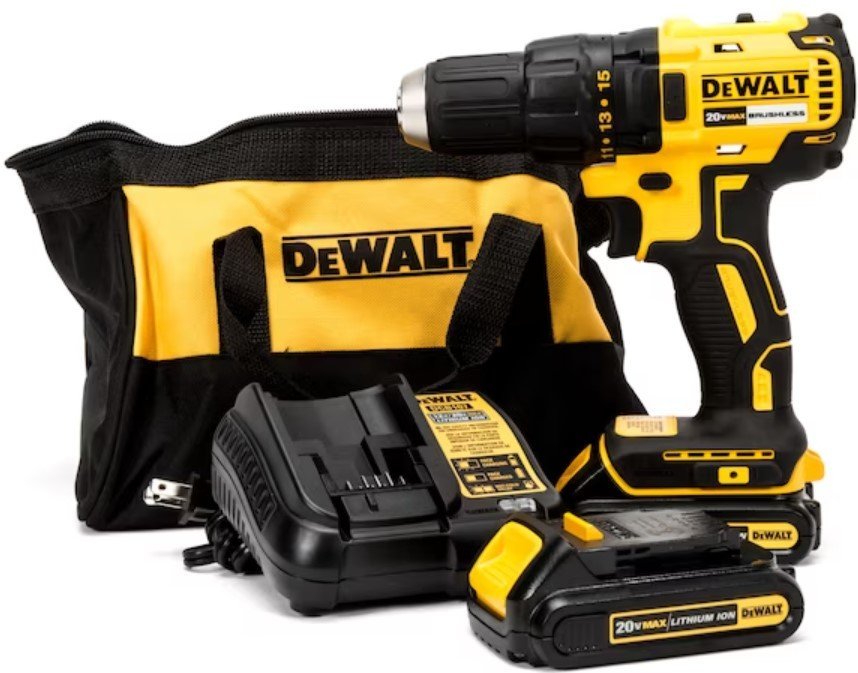
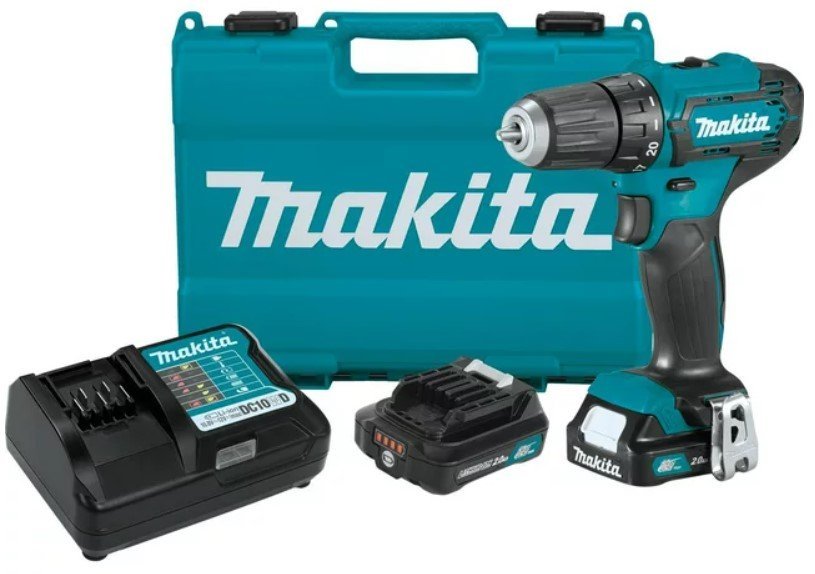
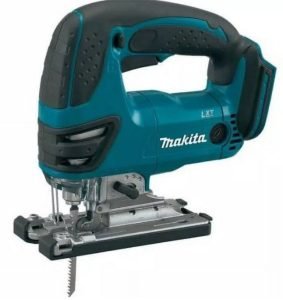
When you advance your skills to the point that you are ready to drill holes into your kayak, you are going to want a drill. There’s several brands on the market, so go with the brand you feel best about. We highly recommend battery powered tools for a variety of reasons (space, freedom, weight) but remember that for every brand of tools you purchase, you’ll need different batteries. AJ and I prefer Makita drills and saws so we have opted to keep almost all our power tools Makita.
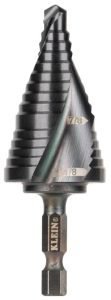
4. Drill Bit Sets
Some drills will come with bit sets, but remember that you get what you pay for. Free drill bits are usually going to be lower quality and wear out quickly. We have found that they are a great solution when in a bind or just getting started. As time allows, save up and get a high quality set of bits that are well varied in size and use. You’re typically drilling through plastic (Polyethylene). Doing mods, however, you’re going to find yourself needing to drill through other material also. Metal plated, fiberglass shafts, aluminum tracks, and wood planks are just some of the materials you may find yourself needing to drill through as you explore kayak modification projects.
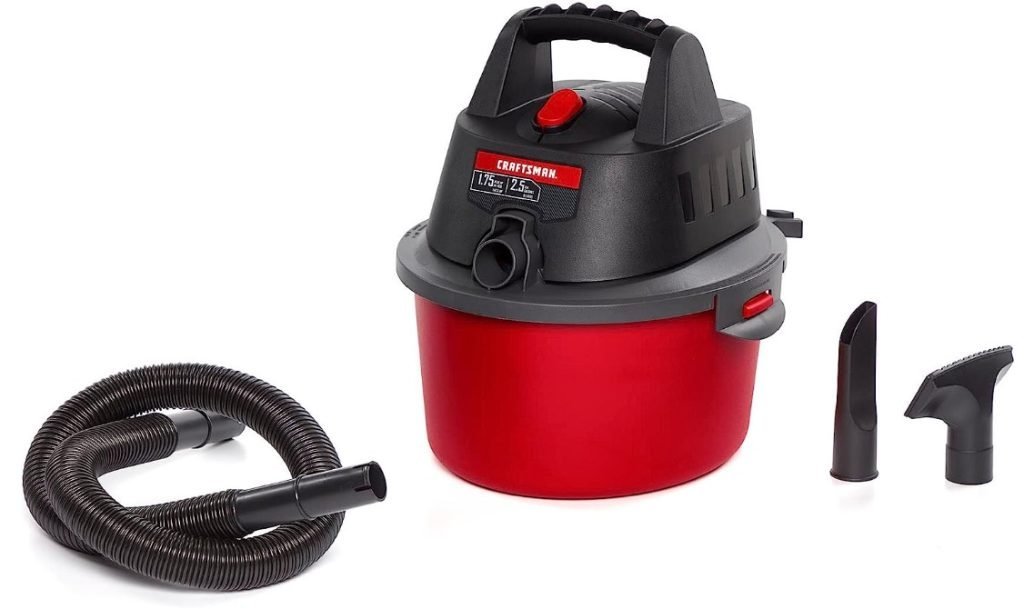
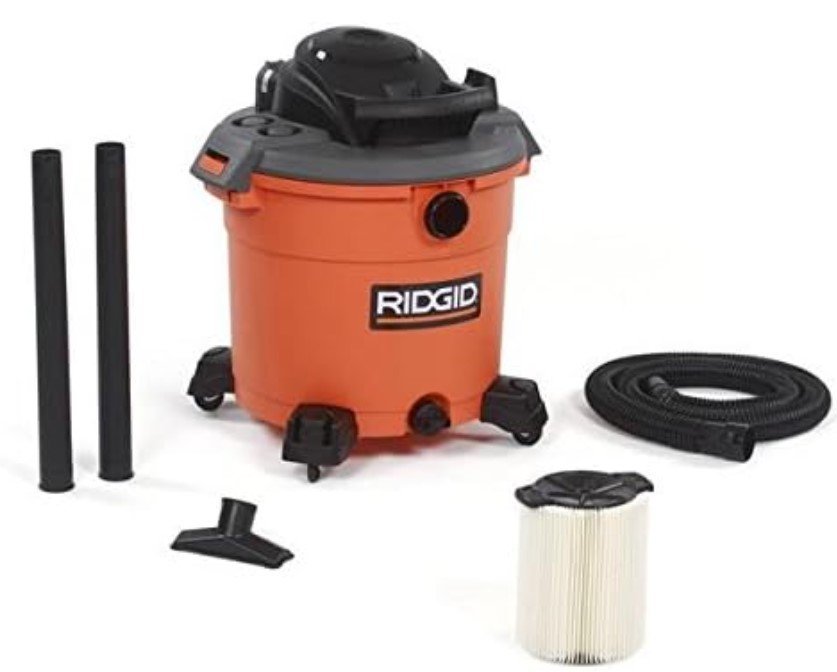
5. Wet/Dry Vac
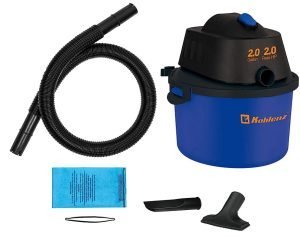
Every modification creates a mess in your work area. If you’re like AJ and myself, you’re making things work in the cramped quarters of your home. Keeping the dust and debris cleaned up will help tremendously in keeping a livable environment. Trimmed wires, dust from cutting and drilling plastic, and shreds of carpet or glue from removing old parts will scatter. A vacuum will speed up the cleaning process and collect more than a broom or tape, especially in those hard to reach spaces, like the inside of the hull.
6. Plier Set
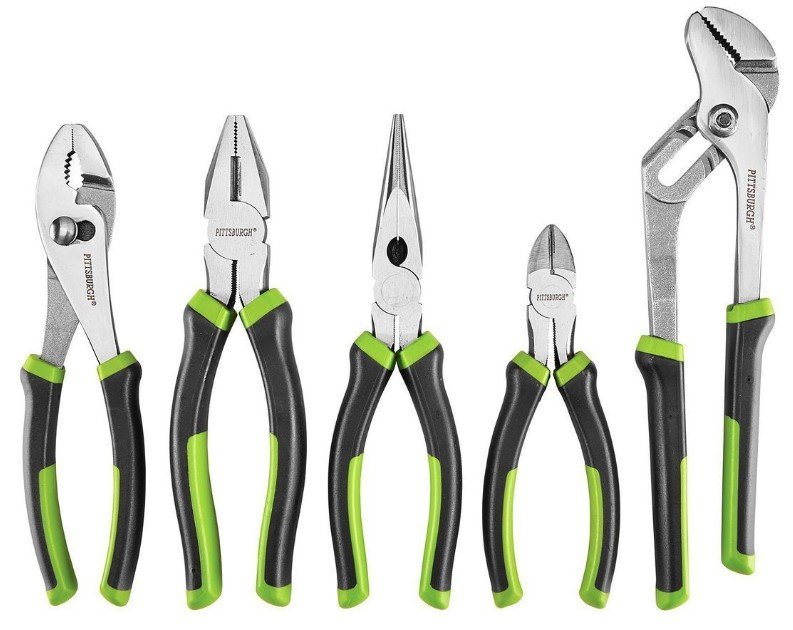
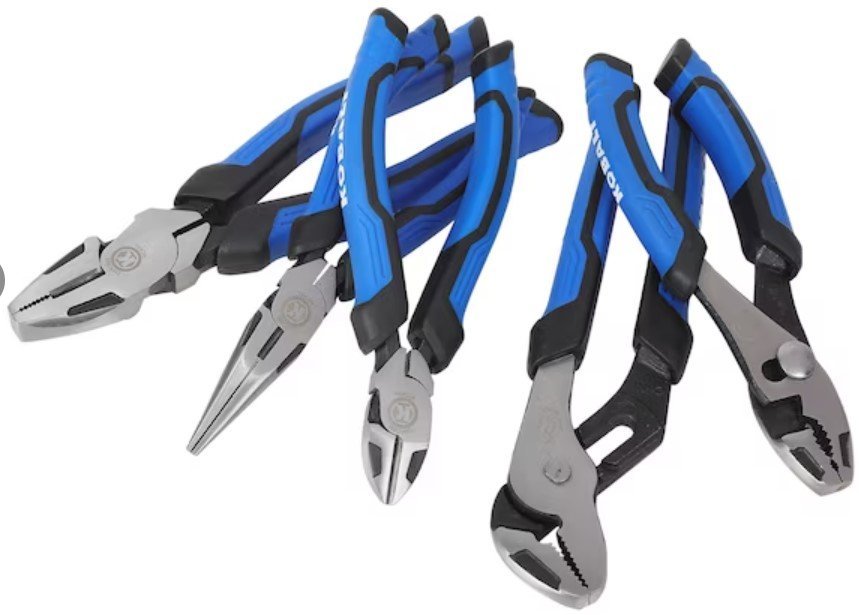
Pliers are a lifesaver in countless projects when modifying kayaks. You’ll use them to tighten things, hold parts, position bolts, and pull wires through tight holes. Get a variety and make sure they’re going to hold up to a few years of abuse.
7. Jigsaw
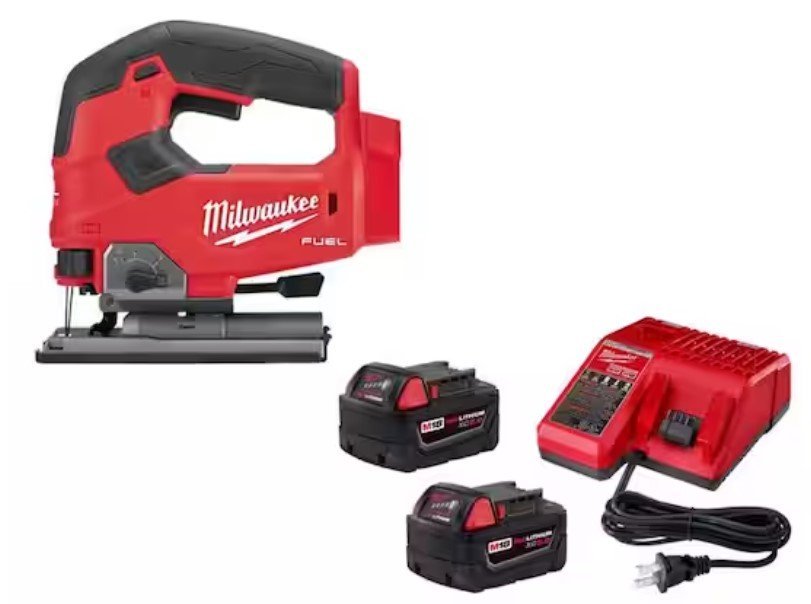
A Jigsaw will give you the most versatility in cutting kayak related parts. It has tight control and allows for straight as well as curved cuts. You will need a bit of practice before using it for large cuts, if you’re not used to cutting with power tools, but the time saving value alone makes them well worth the investment.
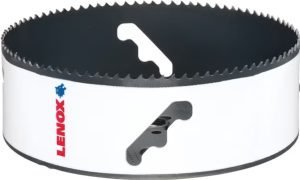
Word of caution: Know where your cut line will be, exactly, and ensure the plastic is braced as you cut if you’re going to cut into your kayak with the Jigsaw. This is what AJ and I did for our access port openings before investing in hole saws.
8. Hand Saw
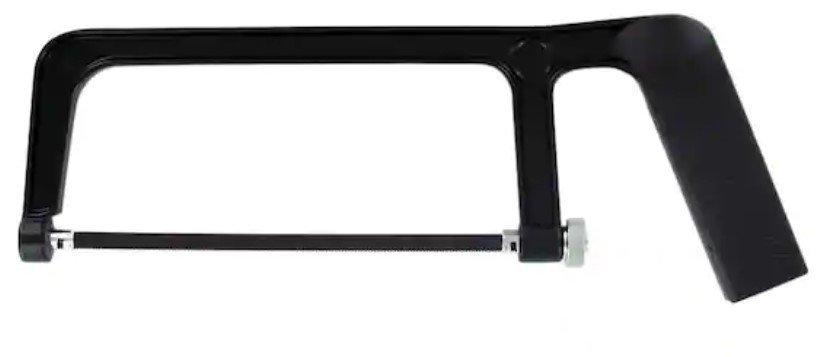
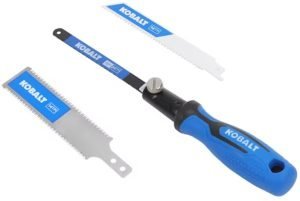
Hand saws will allow for small, precise, cuts when a power saw will be too much for the project at hand. The flush cut saw and the hacksaw can be especially helpful with kayak mods.
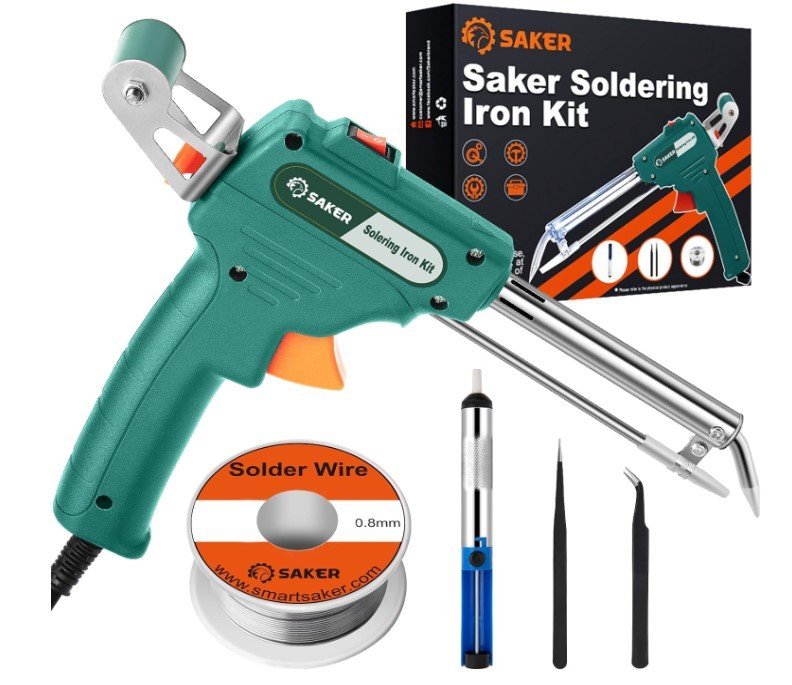
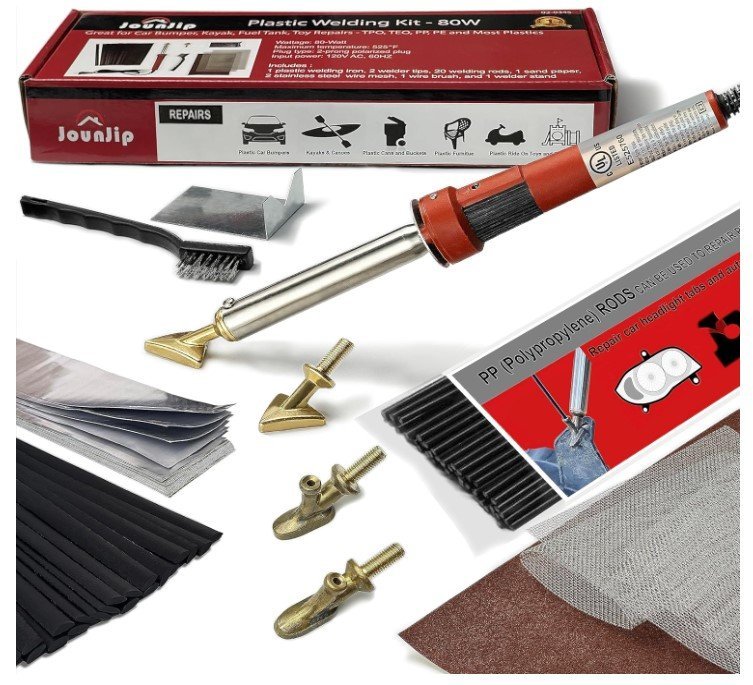
9. Soldering Iron and Plastic Weld Iron
You’ll want 2 separate irons. Never mix solder with plastic on your iron tips.
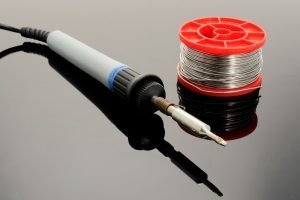
A soldering iron is a game changer when doing any electrical work on your kayak. The more solid your wire connections, the safer your kayak will be.
Kayak mods result in holes. If you drill a hole in the wrong spot, crack a piece of plastic while cutting, or remove a factory install that’s not going to be replaced, you’re going to have holes and gaps that need to be filled. Learning to plastic weld these spots will keep the kayak cleaner and ensure a watertight seal.
10. Rivet Gun
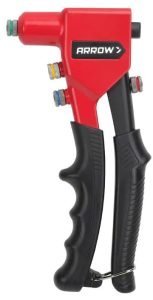
When you have to attach in spaces that you just can’t reach both sides, a rivet can save the day. We have used marine grade rivets on gunwales, on holders we’ve built, and transoms. They hold well and often provide a more solid grip than a marine screw. The more options you have available to yourself, the more smoothly your kayak mod will flow together.
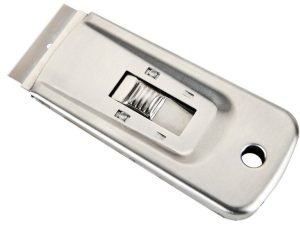
11. Razor Blades
I highly encourage you to have a variety of razor blades on hand. Snap-off pen, flat edge scrapers, and utility knife styles all have unique benefits to kayak modifications. Probably even more important than the style choice is the collection of replacement blades. The more mods you do, the more quickly you will go through blades.
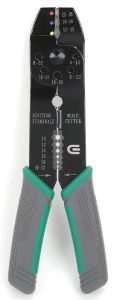
12. Wire Stripper
Every electrical modification you take on will require a wire stripper. The better quality you choose, the fewer headaches you’ll have.
13. Crimper
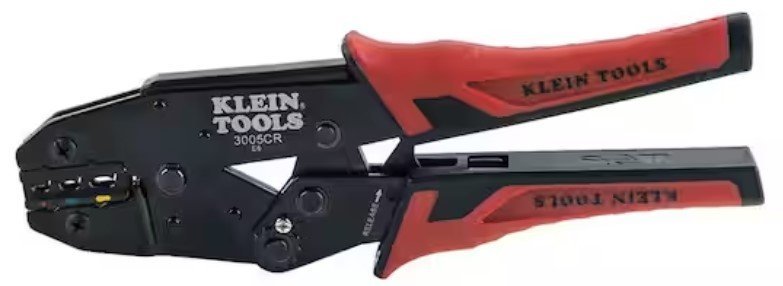
Crimpers are a lifesaver when attaching or changing plugs, when extending wires, or when working with cables and pull lines. You will find a wide variety of uses for a crimper like this.
14. 9 gauge fencing wire
We don’t like to make large access ports on floorboards that will be stood on or where gear will be stored. The structural integrity of the kayak is of utmost importance. Limiting access ports limits areas inside the hull that your arm will reach. Our work around for this solution has been stiff wire. A metal hanger unfolded or a roll of heavy wire from the hardware store will offer a world of access when spacing is limited.

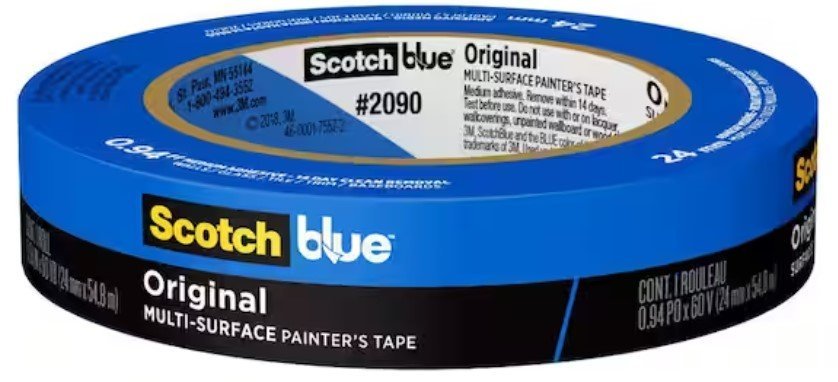
15. Painters tape
When you need just one more hand, when measuring distances to mark screw holes and mod placement, or when ensuring locations are level and even, you’ll want to mark your spots in a way that allows you to move things as needed or ensure your locations are correct from different viewpoints. Painters tape sticks well to kayaks without leaving a sticky residue, marks are easy to make on this tape, and it is rather cheap.
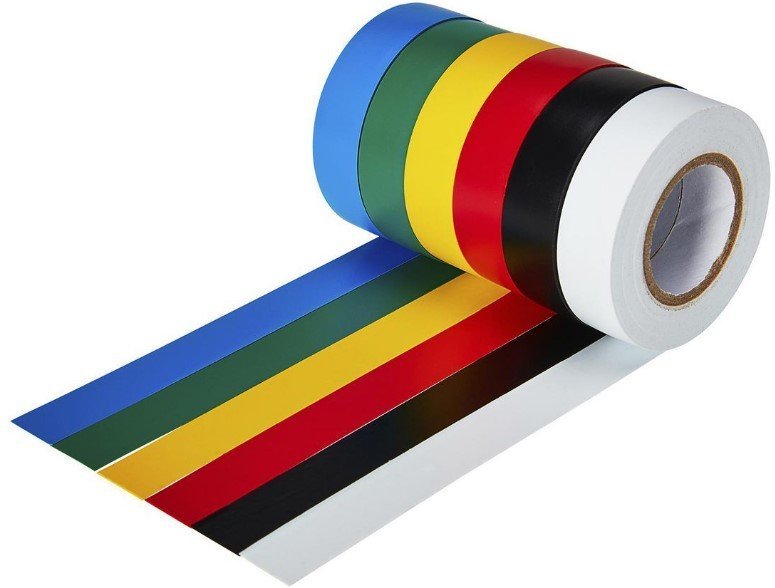
16. Electrical Tape
Some connections just can’t take heat-shrink. Emergencies on the water require quick fixes. If you’re feeding wires through your kayak and need to ID specific lines, electrical tape will be secure, enduring, and a perfect solution.
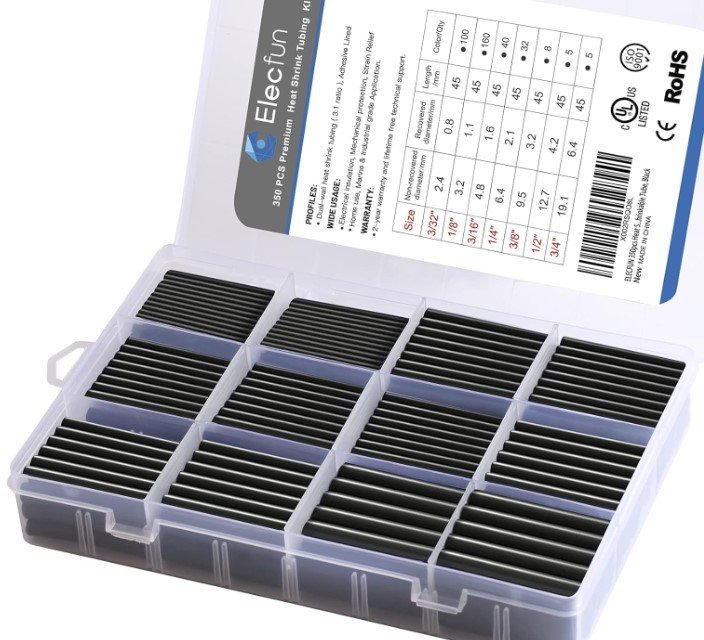
17. Heat Shrink Tubing
Marine grade heat shrink has a glue in the tube that will fill the gaps and seal the edges of the tubing creating a watertight seal to protect your electrical system.
18. Duct Tape
Screws, rivets, and glue are not always the answer. A solid, all weather, strong tape is great for connecting tools (like the wire discussed above) and filling holes or tears that aren’t going to need to be replaced.
19. Waterproof Glue
Just to be clear, we’re not talking about JB Weld. Now yes, JB Weld has its uses and reasons for existing in your toolbox, but kayak mods are rarely going to be a reason. When we talk about waterproof glue, we’re talking about silicone based sealants to fill holes, secure attachments, and so much more.
20. Paracord
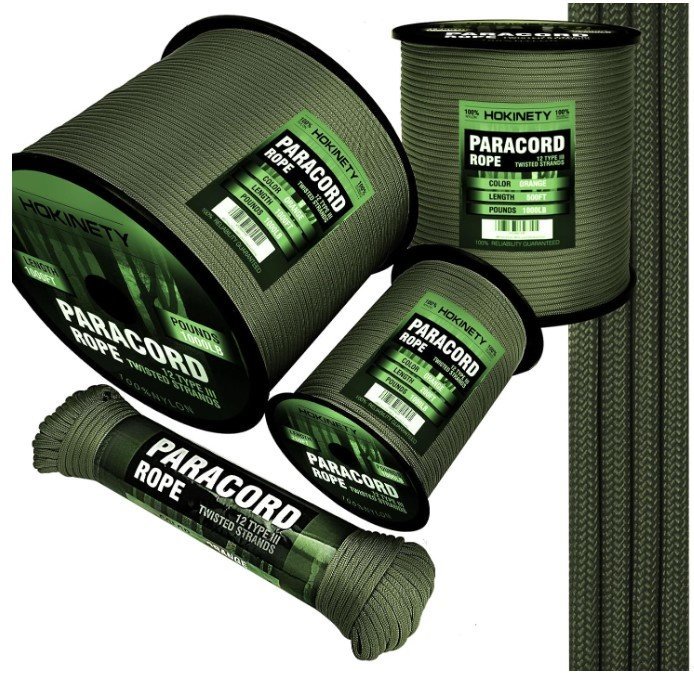
You are going to need strong rope for a variety of builds. Some projects will be semi permanent. Some projects will need the paracord for temporary attachments while you test fit items and positions. At the very least, ensure you have enough paracord on hand to mend the longest line in your kayak in case it breaks.
Choosing your modifications will be as important as choosing your tools. Know what you want to do and you will know what you need to succeed. If you’re trying to decide what kayak mods you want to try, check out these simple mods that don’t necessarily require tools. The experience you gain from these projects will prepare you for the more complicated and demanding DIY projects owning a kayak can encourage in you.

