AJ and I have watched videos and read magazines about kayaking for more years than I care to count. Everything made it look so easy and convenient that we were confident we’d be able to pick out any kayak and simply start going. We were very wrong.
I’ve mentioned in the past how we started our kayak quest with a tandem FeelFree sit-inside. We liked it, but the boat was large, heavy, and very cumbersome to transport. Our first time out we managed to travel all of 50 feet or so. We struggled to paddle, were unsure of our balance, and had no plan for where we were going or what we were going to do when we got there.
Inevitably, we turned our attention to fishing and the kayaking bug got stored in the back of our mental file cabinets for a couple years while we focused on bank fishing.
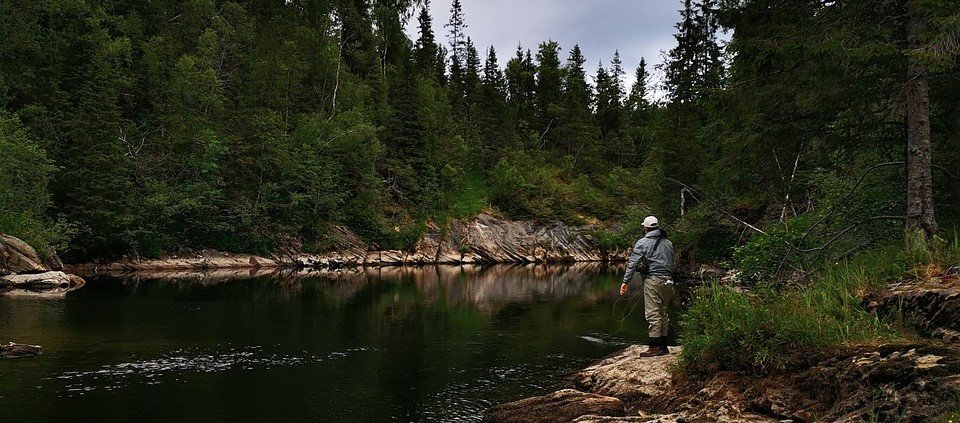
As our fishing adventures grew and the frustrations of bank fishing in over crowded regions with heavily pressured banks began to weigh heavily on our shoulders, kayaks started to look more valuable to us again.
We made all the wrong choices yet again (going cheap instead of effective, skipping safety measures we didn’t feel WE needed, and going out with no plan then figuring out what we should have brought once out on the water), but things were a bit different this time.

We had a goal and a quest we were determined to conquer. Both of us knew the kayak was the means by which we were going to conquer our water adventures and neither of us were going to stop until we were across that finish line.
We are particularly skilled at learning the hard way.
It’s not a tactic I recommend to people, but it works for us. If you’re like us and want to learn to kayak for recreational reasons (fishing, hunting, exploring, scouting) I highly – let me emphasize this – I highly encourage you to learn from our mistakes. It will make your learning curve infinitely smoother and get you successfully across that finish line significantly quicker.
Every time you take your kayak out on the water, you learn something new about the kayaking process. The more you learn, the easier extra activities become. Our goal, originally, was to kayak fish. Later we expanded those goals to include scouting new hunting and fishing areas, accessing new hunting territory, and exploring new cities we may be interested in living near. No matter what the purpose of our specific outing, the basic needs of the kayak process stay the same. These are 10 of the challenges to our adventures that we learned the hard way.
As always, learn from our mistakes and make your outdoors quests easier to conquer.
1. Determining kayak stability
Every person that gets in their kayak for the first time experiences the wibble-wobble moment. You fall into the kayak and instantly grab for something solid only to realize everything solid is rocking with you.
Headwaters Kayak has a great video on YouTube that talks about keeping your balance while in a Kayak. I have watched it a few times and frequently lament how much it could have helped in my early stages of kayaking.
What the video doesn’t cover is how to determine if the kayak you’re considering is going to be stable enough for your purposes. Recreational kayaks, traditionally, are narrow and long. This is great for speed, easy paddling, and stable enough when all your doing is traveling along waterways.
But what if you’re planning to fish from your kayak and want to stand up to make those challenging casts? This is where it becomes significantly more important to pay attention to kayak characteristics. Wider kayaks provide you with a more stable platform. The less rocking you experience, the easier it is to stand on water. Keep in mind, though, that there’s always a price to any benefit. The wider the kayak is, the slower it is in the water. If you’re paddling, you have to find the middle ground you are personally willing to live with.

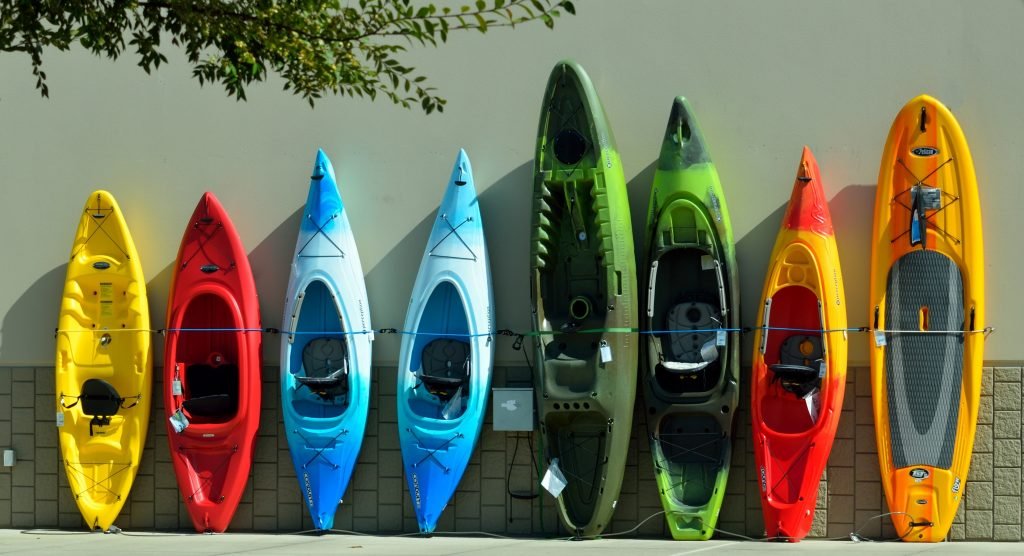

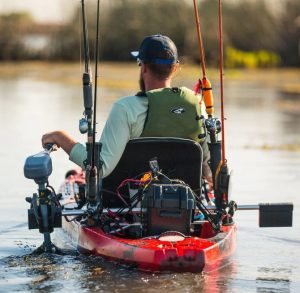
I can stand practically all day in my perception outlaw. It’s as solid as a rock even with bass boats hurtling past leaving me in their wake. By the end of the day, though, my shoulders are absolutely done. I finally broke down and added a trolling motor for just this reason.
2. Choosing a recreational kayak paddle
Have I mentioned that I’m a cheapskate? If I can spend $40 why on earth would I want to spend $100 on a paddle? Well, the answer is complex but simple. Chad Hoover of KBF explains it perfectly.
When you start kayaking you don’t know what you like or don’t like about kayak gear. It’s reasonable to opt for the cheapest options because of this. The problem there becomes you spent $40 on a paddle to get you out on the water only to decide the paddle is too heavy and awkward.
So you spend $80 on a better paddle. It’s lighter and longer which the sales guy told you will be better for your paddle stroke but you didn’t want to buy the $200 paddle he was recommending so you opted for the one that looked like his recommendation but was cheaper.
Now you have a paddle that’s long enough to get a decent stroke and it’s lighter weight than the one you started with but the blades are bulky and you feel like you’re slowing down every time you put the blade in the water for a new stroke.
Finally you give in and listen to all those experts on YouTube that you’ve been watching. You want to love kayaking as much as they do so you come up with a compromise. You buy a $120 paddle that has an adjustable shaft, reinforced blades, and is light as a feather compared to either of the paddles you’ve owned previously.
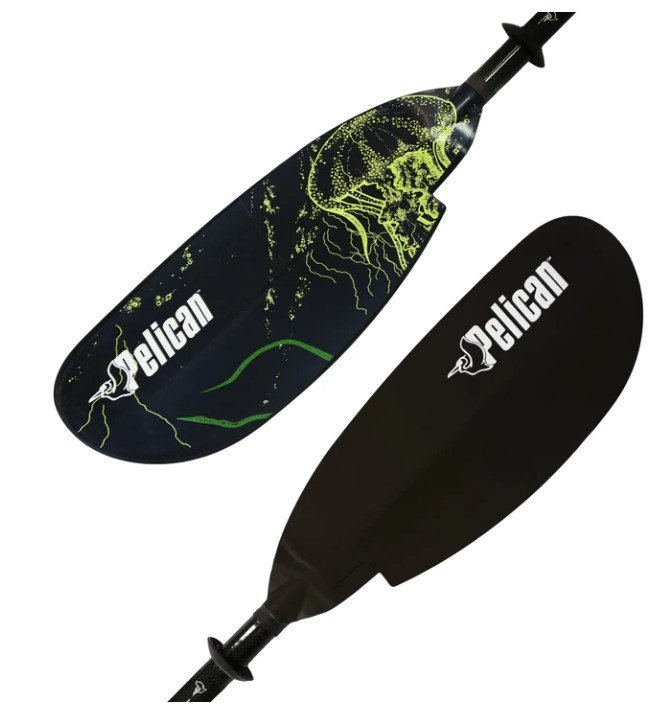
Here’s the problem. That paddle didn’t cost you $120. It actually cost $240.
Paddling makes all the difference in the world. If you can’t go anywhere, you can’t enjoy the reason you’re on the water. Like Chad says, if you’re going to invest in something for your kayak, invest in the paddle.
3. Understanding life vests (PFDs) for different water activities
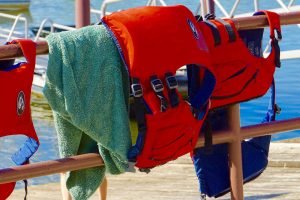
There seems to be as many PFD options as there are kayakers on the water these days. Some are USCG approved, some are not.
The golden rule to PFD selection is to ensure it’s going to do the job you need it for. The USCG has regulations in place that everyone on the water has to follow. Your local agencies will have additional regulations you need to follow. Once all those restrictions are met you’ll find yourself looking at probably 10-20 options you’re willing and able to consider.
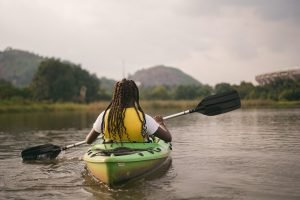
This is where personal preference comes into play. Many anglers like to use the auto inflate PFD so they can feel less “confined” while fishing. I have no neck so when it explodes in my face, it becomes more of a hindrance to me than a help. There’s a large portion of recreational kayakers that like the fishing specific PFDs because they have storage pockets for lures and your phone. The style you choose will depend on what you like using. Just because you fish, doesn’t mean you have to use a fishing pfd. Just because you’re on your way to a hunt doesn’t mean you have to use a low profile inflatable.
4. Kayaks have different purposes
Choosing the right kayak can be overwhelming. Limiting your options by specific variables can make your decision detrimental. Going by what’s cheapest almost ended my kayaking adventures when I decided to get “serious” about kayaking and picked out the Ozark Trails Angler. I did it because of the price (supplemented by an incredible sale). My second outing resulted in me spending more time in the water than I spent in my kayak.
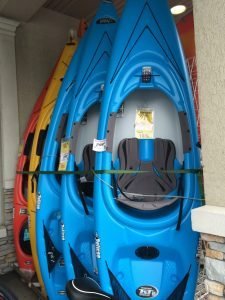
I violated the 3 sacred rules of kayak selection: Prioritizing cost over safety, Not considering reviews or specs in my decision process at all, And probably most significant, I did not consider the intention behind the kayak’s design.
The Ozark Trail is designed for small, smooth, limited obstacles type waterways. Ponds and small, clean lakes would be good for it. Though stable enough, they are not resilient in “tippy” conditions. I fish in “largeish” lakes with a lot of underwater obstacles.
Choosing a kayak strictly because of the price can leave you with a hunk of plastic taking up a large amount of space and serving no purpose when you begin opting for bank fishing because you don’t want to fight with the boat.
As a side note, remember that you can frequently tweak kayaks. A good quality recreational kayak can be modified to handle fishing. Some touring kayaks can be set up to make hunting trips a breeze.
5. How to paddle non-whitewater kayaks
Maybe even more important than the type of paddle you choose, is the way you use your paddle. There’s hands-on classes in many locations.
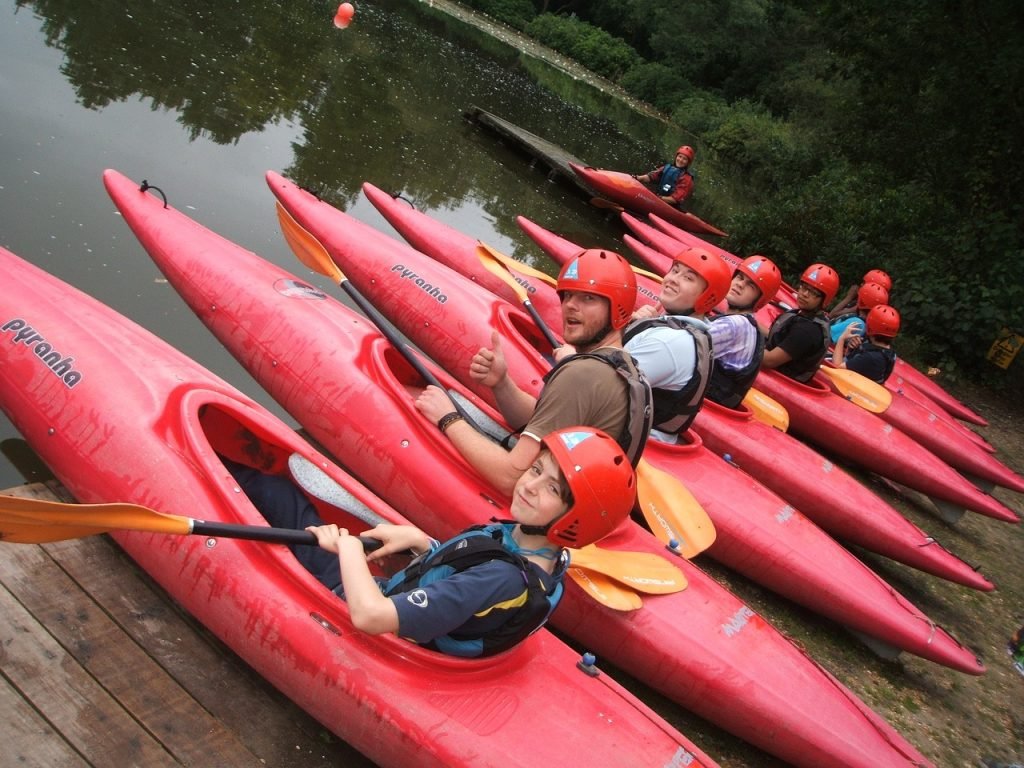
If you’re a physical learner, it would be beneficial to you to take one of these classes. Another helpful option would be the kayakers safety course.
But, if you are comfortable learning on your own, I’d recommend watching the videos by Headwaters and Chad Hoover.

Headwaters is more technical since he covers everything from recreational kayaking to white water competition.

Chad focuses more on paddling as it applies to anglers.
6. How to anchor different kayaks in different situations
Now when I talk about anchoring I don’t just mean tossing a weight in the water tied to your bow and calling it good. That’s where a lot of us go wrong when we’re first starting out.

One anchor, tied to a point on your kayak creates a pivot point that can cause more complications while on the water than anything else.
Wind will begin spinning you like a compass.
Currents can drag you far enough away from you target brush pile that your lure will never be seen.
What I’m talking about is how do you make yourself stationary on continuously moving water?
Anchors are great when used properly. One at your bow pulling forward with a second at your stern pulling back can keep you firmly locked in place.
There’s other tactics to explore also, though.
Wedging your stern on the bank and placing an anchor at your bow can be a great way to secure your position while duck hunting. When the duck goes down you simply pull up the one anchor, push off, and go retrieve your duck.
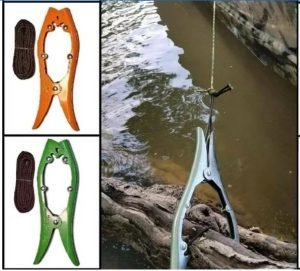
A brush gripper can hold you near a tree or submerged plant while you’re skipping Grubbs under a dock on the other side of a narrow channel.
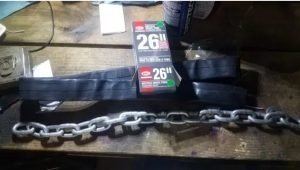
Drag chains can slow your pace and center your course as you drift down a creek looking for the best location to target. They are used similarly to drift socks but can help better in many scenarios.
Anchor poles can be secured through a scupper hole to keep you in place without having to deal with lines extending out from you hull. This can be extremely beneficial if you get a crafty fish on the line that knows how to tangle your line to escape capture.

7. Loading your chosen kayak
Loading your kayak can be a particularly painful experience for many people. Depending on the kayak you choose, the process can be even more complicated when you start adding modifications.
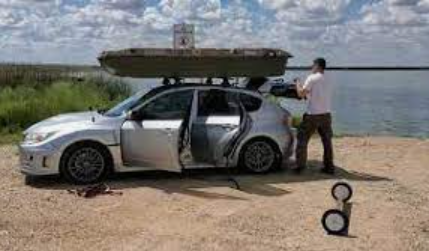
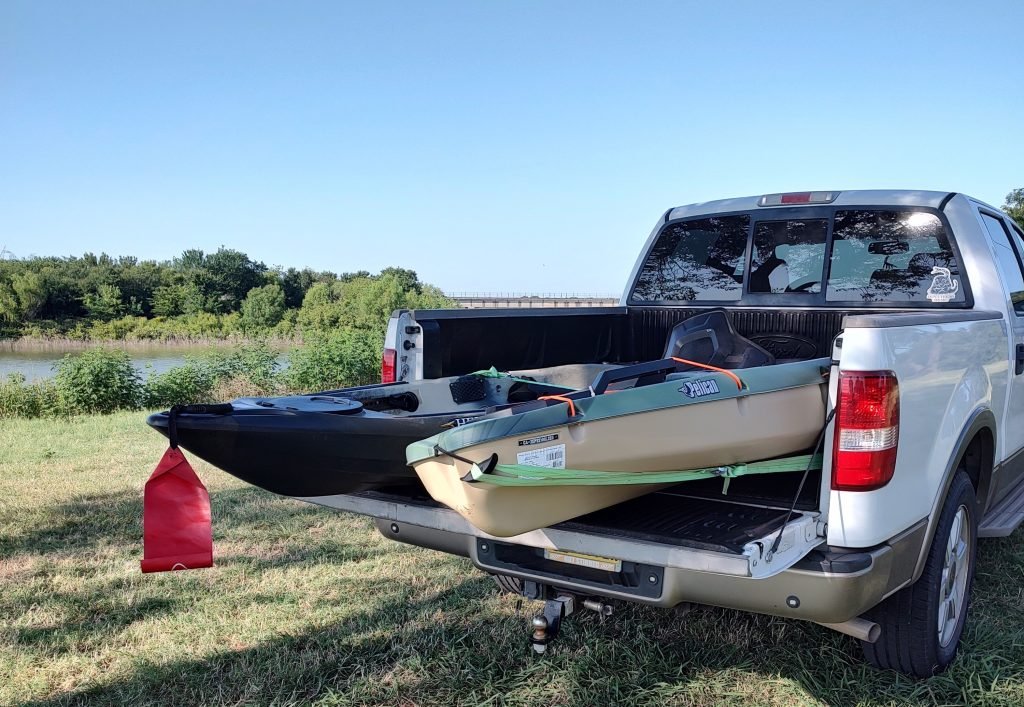
Chad Hoover has a video that breaks down loading even a heavy kayak onto a car or SUV. Even his wife was able to use this process by herself.
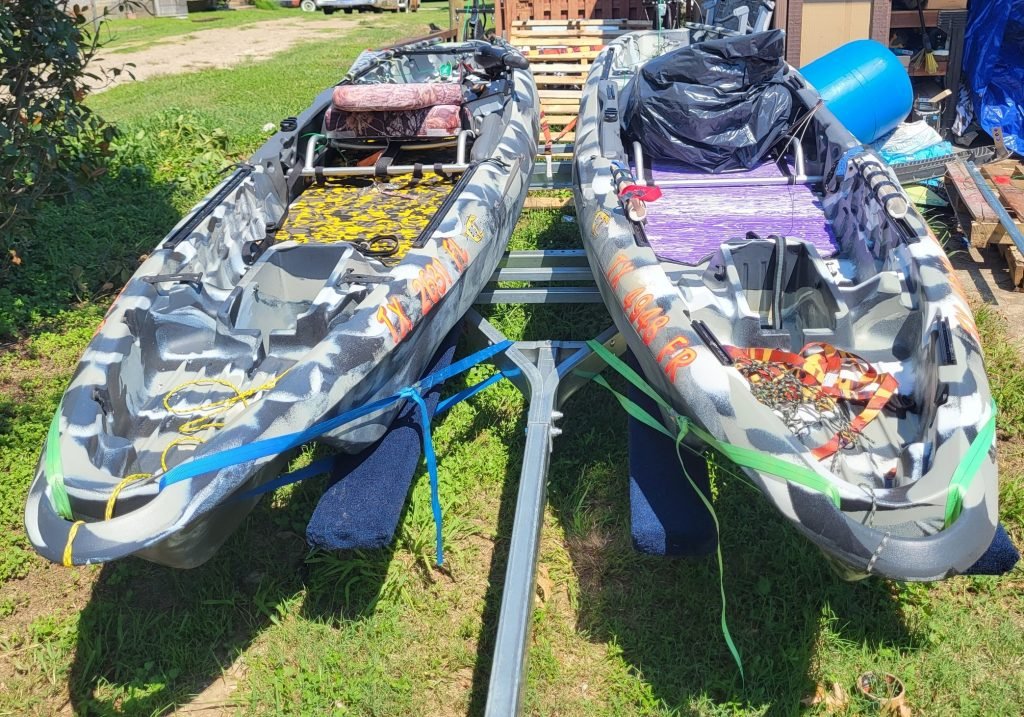
There’s now assist ramps that can be installed on cars or trucks to create sliding pivot points. The mechanisms remove a lot of the weight that makes the process difficult for people with strength or mobility issues.
Another popular choice is a trailer. Even very light, basic trailers can be modified to easily transport kayaks. The trailer can then do most if not all of the loading and off-loading work for you.
8. Entering and exiting kayaks from different locations
Ultimately there’s three solid methods I’ve found for entering and exiting my kayak. After several experiences of being more wet than I wanted, I’ve found these to be the best options depending on where and when I’m kayaking.
The process can be very simple when you have access to a boat dock.
- Sitting on the edge of the dock, put your paddle across the dock onto your kayak. Ideally, you’re going to have one blade on the far gunwale, the shaft on the closer gunwale, and the remainder of the shaft along with the second blade on the dock.
- Tuck the shaft up close to the back of your seat.
- Slide your feet onto the kayak floor while holding the paddle in the above position.
- Your but will then slowly slide into the seat while the paddle holds your kayak steady.
It’s a bit cumbersome to learn to hold your paddle behind your back, but it keeps your kayak steady and close to the dock.
No matter the kayak you use, make sure you’re dressed appropriately for practicing your entry and exit!
9. Fighting a fish is different from bank or even boat fishing
Kayaks are inherently tippy. When you hook on to a good sized fish or even an unexpectedly strong beast, you’re going to become painfully aware of just how tippy a kayak will make you feel. There’s a few tricks you can use to minimize that instability.
When you’re close to shore, bank your kayak. Wedging the but into soft mud or sand is best, but some kayaks will prevent you from doing that.
A trolling motor may be blocking a stable fit or a kayak (suck as the bonafide ss127) may have fins (sometimes called wings) under the hull that will become damaged if you bank like this. In these cases, you can bank your kayak sideways. Just remember you may want your legs dangling over the opposite side to act as a brace if the kayak is rocking still.
If you’re in open water, turn your kayak so the fish is out in front of the bow. This gives you the most control and best stability. If the fish is too close to your boat you may have to let out some line to accomplish this. Remember to keep tension on the line and let the fish do the work to pull the line out and give you the space you need to turn your kayak. It’s also a help in the fight because the more the fish fights against you, the more tired he’ll become.
10. Securing gear on small vessels (kayaks, canoes, etc.)
It is almost impossible to find a kayaker that has never lost anything to the depths of water below. One thing you have to learn to accept when becoming a kayak angler is that you will lose gear to the water occasionally. Mostly, it’s a state of mind you have to develop to control the process. There are, however, tools that can help you minimize this loss.
Most importantly, get in the habit of securing everything all the time. Even when it’s in your hands there’s a risk of it going overboard…have you seen the video of the guy that took a picture of his prized catch then threw his phone overboard while he was still holding his phone?
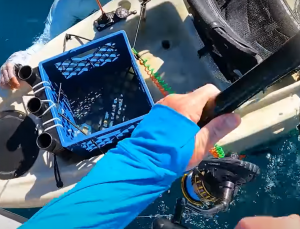
Beyond the mindset, consider a few very inexpensive yet invaluable resources. Leashes can be purchased or made for pennies. They can secure your rods to the boat, your measuring board, your forceps and even your scissors. Bungee cords can hold your tackle bag, your ice chest, and just about anything else bulky you may have onboard. For as little as $1 you can get a magnet to put on your side rail which allows you to put a favorite lure out of the way as you retie or change baits. I’ve even dropped lures and hooks down the scupper hole between my feet as I’m changing my set-up. If you’re down to your last size 4 hook and the bite is on, that can be incredibly maddening.
Think about these solutions as you’re out on the water and see what other, simple, options you can come up with to prevent heartache.
These are all things I’ve learned over the past several years of kayaking. More importantly, they’re the things I wish I’d known before my first outing. No matter what kayak you choose, no matter what modifications you add, these basics make the experience so much more comfortable.

